

Unlocking a Chamberlain garage door might seem challenging at first, but with the right guidance, it can be a straightforward process. Whether you’re dealing with a power outage, a malfunctioning remote, or simply learning how to operate your garage door manually, understanding the correct steps is crucial.
This guide on how to unlock chamberlain garage door will walk you through the essential methods to unlock your Chamberlain garage door safely and efficiently.
Why Unlock Your Chamberlain Garage Door?
There are several scenarios where unlocking your Chamberlain garage door might become necessary. A common reason is during a power outage, which can render the automated opening mechanism inoperable. Knowing how to access the door manually ensures you won’t be stranded outside or unable to secure your property.
Additionally, malfunctioning remotes or keypads might require you to use the manual release feature to regain access. Understanding this process is also valuable in emergencies, such as needing to quickly retrieve your vehicle or other essentials. Being prepared and knowing how to unlock the door can save time, reduce frustration, and ensure your safety in unexpected situations.
Needed Materials
Screwdriver:
A standard or Phillips head screwdriver is typically required to remove any screws holding the remote or keypad in place. If you don’t have a screwdriver on hand, it’s wise to invest in one that can be easily stored in your vehicle for emergencies.
Replacement Batteries:
Be sure to check the battery type and size needed for your specific remote or keypad. Keep replacement batteries readily available so you can quickly swap them out when needed.
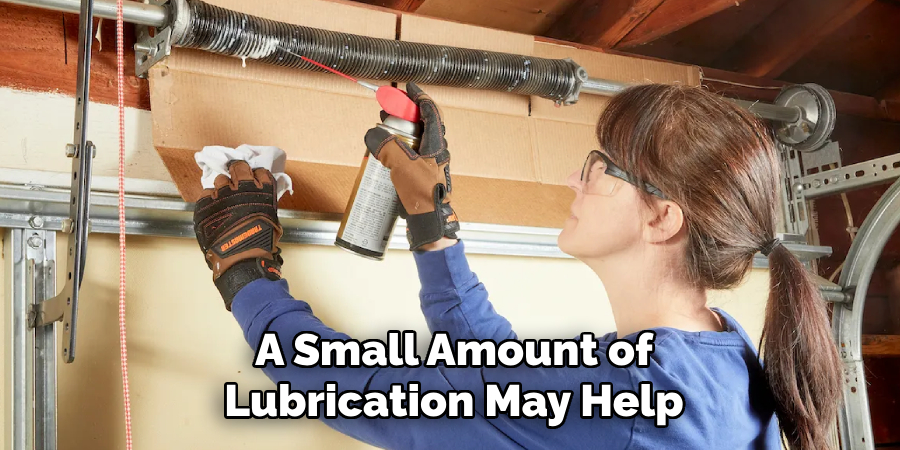
Lubricant:
If your keyless entry system seems to be sticking or not working smoothly, a small amount of lubrication may help. Be sure to use a silicone-based spray or graphite powder specifically made for locks and keys.
Owner’s Manual:
Always refer to the owner’s manual for specific instructions on how to program or troubleshoot your keyless entry system. The manual will also provide important information on maintenance and battery replacement.
7 Steps on How to Unlock Chamberlain Garage Door
Step 1: Locate the “Learn” Button
To begin, find the “Learn” button on your Chamberlain garage door opener. This button is typically located on the back or side of the motor unit, near the antenna wire.
The “Learn” button is often colored red, orange, purple, yellow, or green, depending on the model. Refer to your owner’s manual if needed to pinpoint its exact location.
Step 2: Press and Release the “Learn” Button
Once you have located the “Learn” button, press and release it. You will notice that the indicator light next to the button will illuminate or blink, signaling that the garage door opener is ready to receive a new code or connect to a remote.
Be careful not to hold the button down for too long, as this could erase all previously programmed remotes.
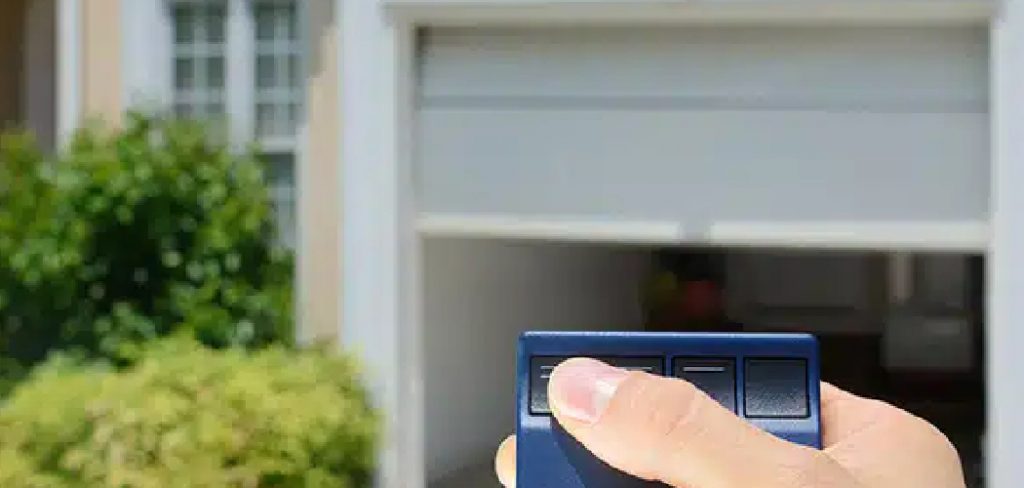
Step 3: Press and Hold the Desired Remote Button
While the light is still on, press and hold down the button on your remote that you would like to use to open your garage door.
Hold down this button until the light next to the “Learn” button blinks, indicating that the remote has been successfully programmed.
Step 4: Test Your Remote
Once the light next to the “Learn” button has stopped blinking, it’s time to test your remote. Stand a few feet away from the garage door and press the button you just programmed. The garage door should respond by opening or closing.
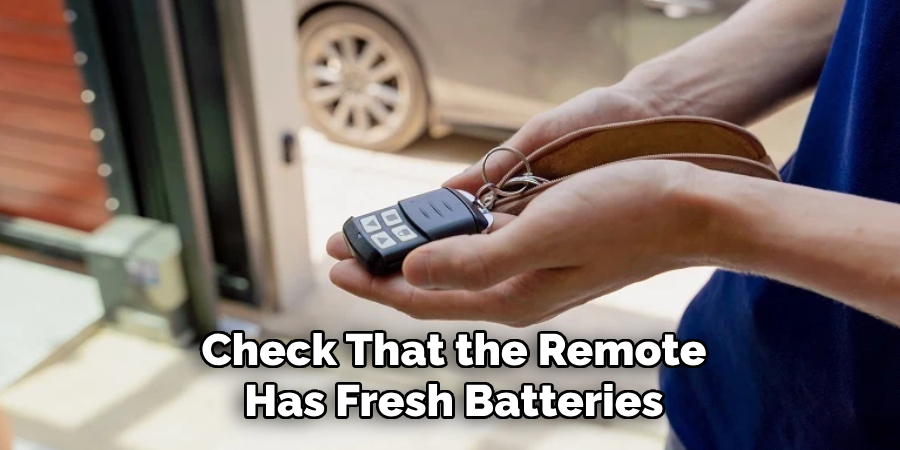
If it does not work, repeat Steps 2 and 3 to ensure the remote was properly programmed. For best results, check that the remote has fresh batteries and that you are within range of the garage door opener.
Step 5: Repeat for Additional Remotes
If you have more remotes to program, repeat Steps 2 through 4 for each one. Ensure that you press the “Learn” button on the garage door opener for every remote you wish to program, and test each remote individually to confirm proper functionality.
Be patient and methodical, as programming multiple remotes may require some extra time. Remember to check the battery level of each remote and maintain a consistent range during testing for optimal results.
Step 6: Program Your Keypad (Optional)
If your garage door system includes a keypad, you can program it to operate the door without a remote. Start by locating the “Learn” button on your garage door opener, usually found near the antenna. Press and release the button, then return to the keypad. Enter a four-digit PIN of your choice, followed by the “Enter” or specified key on the keypad.
Wait for the garage door opener’s lights to flash or produce a clicking sound, indicating successful programming. Test the keypad by entering your PIN and pressing the “Enter” key to ensure it works correctly. If the process fails, consult your user manual for specific instructions or repeat the steps carefully.
Step 7: Mounting the Keypad
Once you have successfully programmed your keypad, it’s time to mount it near the garage door. Most keypads come with mounting hardware, such as screws and anchors, for easy installation.
Choose a suitable location for your keypad, which is easily accessible but also hidden from view to prevent tampering. Some popular locations include near the side entrance of your garage, on the wall next to your garage door opener button, or even inside your car if you prefer a more discreet option. Using the provided mounting hardware, attach the keypad securely to the desired location. Make sure that it is level and has a clear line of sight to the garage door opener for optimal performance.
Following these steps on how to unlock chamberlain garage door opener using a keypad, you can now easily enter your garage without the need for a physical key or remote control. This feature is not only convenient, but also adds an extra layer of security to your home as it prevents unauthorized access.
When to Call a Professional?
While installing and programming your Chamberlain garage door opener keypad is designed to be a straightforward process, there are instances where professional assistance might be necessary. If you encounter persistent issues such as the keypad not responding, the garage door failing to open or close properly, or programming errors that can’t be resolved through the user manual’s instructions, it may be time to reach out to a professional.
Additionally, if you notice any damage to the wiring, keypad, or garage door opener system itself, it’s best to seek expert help to avoid further complications or safety risks. A trained technician can diagnose the problem quickly and implement the right solution, ensuring your garage door operates efficiently and securely.
Preventive Maintenance Tips
Regular preventive maintenance is essential to keep your garage door system in optimal condition and avoid unexpected repairs. Start by inspecting the hardware, such as hinges, springs, and rollers, for signs of wear or rust. Lubricate these components with a silicone-based lubricant to ensure smooth operation. Test the balance of the door by disconnecting the opener and manually lifting it—if it doesn’t stay in place, it may require adjustment.

Additionally, clean the tracks to remove dirt and debris, ensuring unhindered movement. Check the safety features, such as the auto-reverse mechanism, to confirm they are functioning correctly. By performing these simple maintenance tasks periodically, you can extend the lifespan of your garage door system and maintain its safety and efficiency.
Frequently Asked Questions:
Q1: How Often Should I Perform Maintenance on My Garage Door?
A: It is recommended to perform basic maintenance tasks, such as lubrication and visual inspections, at least once every three months. However, if you notice any issues or unusual sounds, it’s best to address them immediately.
Q2: Can I Do the Maintenance Tasks Myself, or Do I Need a Professional?
A: Some basic maintenance tasks can be done by yourself with proper knowledge and precautions. However, for more complex issues or repairs, it’s best to hire a professional trained in garage door systems.
Q3: Are There Any Warning Signs That Indicate My Garage Door Needs Maintenance?
A: Yes, some common warning signs include unusual noises during operation, difficulty opening or closing, and visible damage or wear on the door itself. If you notice any of these signs, it’s important to address them promptly to prevent further damage.
Q4: How Often Should I Schedule Garage Door Maintenance?
A: It is recommended that maintenance for your garage door be scheduled at least once a year. However, if you use your garage frequently or notice any issues, it may be beneficial to schedule maintenance more often.
Conclusion
Regular maintenance and prompt attention to potential issues are crucial for ensuring the longevity and reliability of your garage door. By staying proactive, you can avoid costly repairs, enhance safety, and maintain the smooth operation of this essential part of your home.
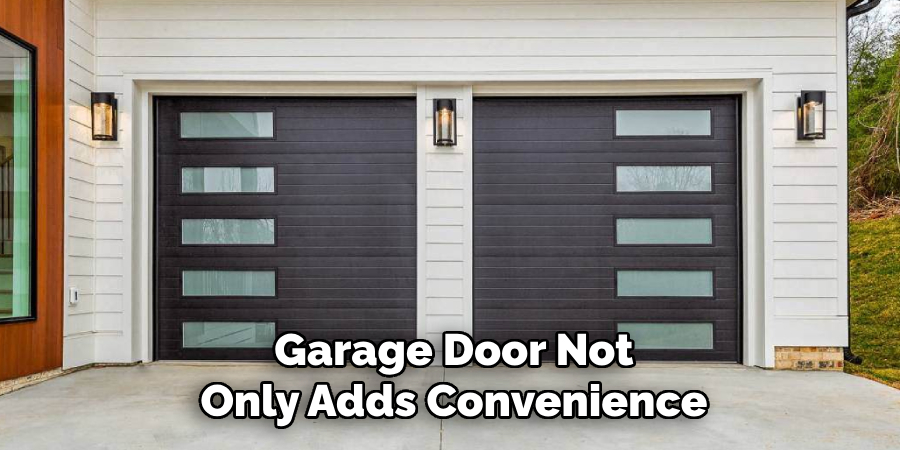
Remember, a well-maintained garage door not only adds convenience but also contributes to the overall security and value of your property. Thanks for reading this article on how to unlock chamberlain garage door.