

Are you looking to unlock your Trane thermostat? If so, you’ve come to the right place!
Unlocking the Trane thermostat can initially seem challenging, especially if you’re unfamiliar with its features and settings. However, understanding the process is key to effectively controlling your home’s heating and cooling system. A locked thermostat helps prevent accidental temperature changes or unauthorized adjustments, but when you need to make modifications, knowing how to unlock it ensures convenience while maintaining the desired comfort in your space. Additionally, a locked thermostat can also help save energy and reduce utility costs by preventing unnecessary adjustments.

This guide on how to unlock Trane thermostat will walk you through the simple steps to unlock your Trane thermostat with ease. Let’s get started!
What Are the Benefits of Unlocking Your Trane Thermostat?
Unlocking your Trane thermostat offers a wide range of benefits, including:
- Convenience: As mentioned earlier, being able to unlock your Trane thermostat allows for easy and hassle-free temperature adjustments whenever needed.
- Energy Savings: By locking your thermostat, you can prevent accidental or unauthorized changes to the temperature settings. This helps save energy and reduce utility costs in the long run.
- Customizable Comfort Levels: With an unlocked thermostat, you have complete control over the temperature settings in your space. You can adjust it to suit your specific needs and preferences without any restrictions.
- Remote Access: Some newer models of Trane thermostats offer remote access through Wi-Fi connectivity. This allows you to adjust your smartphone’s or tablet’s temperature settings, even when you’re not at home. This feature is incredibly convenient and helpful for busy individuals.
- Smart Home Integration: Trane thermostats are compatible with various smart home systems, such as Amazon Alexa, Google Assistant, and Apple HomeKit. This lets you control your thermostat using voice commands or other connected devices.
- Advanced Features: Trane thermostats have advanced features such as adaptive recovery, schedule programming, humidity control, and multi-stage heating and cooling. These features provide efficient temperature management and help optimize energy usage.
What Will You Need?
- A compatible Trane thermostat
- A stable internet connection
- A smartphone or tablet with the Trane app installed
- Compatible smart home system (if you wish to control your thermostat through voice commands or other connected devices)
Once you have these items, you can set up your Trane thermostat and start enjoying its convenience and energy-saving benefits.
8 Easy Steps on How to Unlock Trane Thermostat
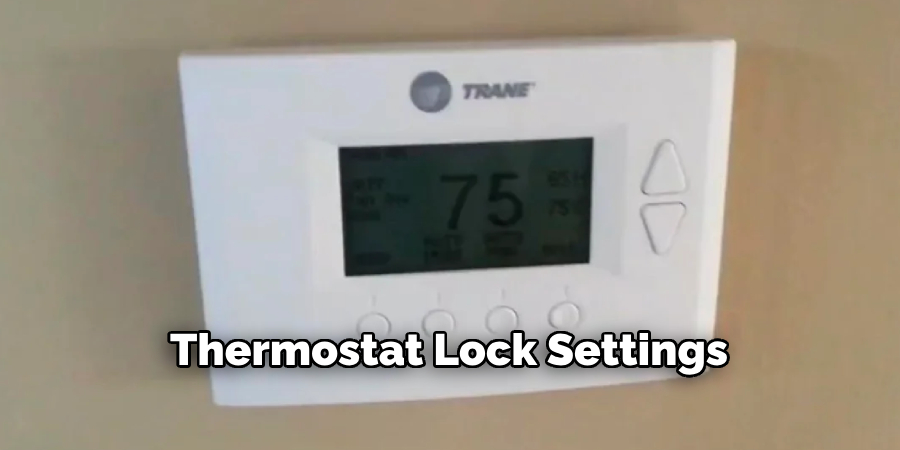
Step 1. Locate the Thermostat Lock Settings
To begin, access the settings menu on your Trane thermostat. This can typically be done by pressing the “Menu” button on the screen or near the device’s controls. Navigate through the menu options until you find the “Lock Settings” section or “Thermostat Lock.” Depending on the model, this section may be listed under “Security Settings” or a similar heading.
Refer to your thermostat’s user manual if you’re having trouble locating this feature. Be sure to note or remember any specific PINs or security codes required for unlocking, as these are crucial for gaining access. Understanding how to locate this feature is the first step to successfully managing your thermostat’s lock settings.
Step 2: Adjusting the Lock Settings
Once you have located the “Lock Settings” section, you can adjust the thermostat’s lock preferences according to your needs. If prompted, enter the required PIN or security code to access the settings. From here, you may find options to lock the thermostat fully, partially restrict access to certain functions, or unlock it entirely. Select the desired option and confirm your choice. Be sure to save any changes before exiting the menu to ensure the new settings are applied correctly.
Step 3: Verify the Lock Settings
After saving your changes, verifying that the lock settings are functioning as intended is essential. Attempt to access various thermostat features to ensure that restricted functions are properly locked or accessible per your preferences. If something does not work correctly, revisit the “Lock Settings” section to review and adjust your selections. This step ensures that your thermostat settings align with your security and usability requirements.
Step 4: Test the Thermostat Functions
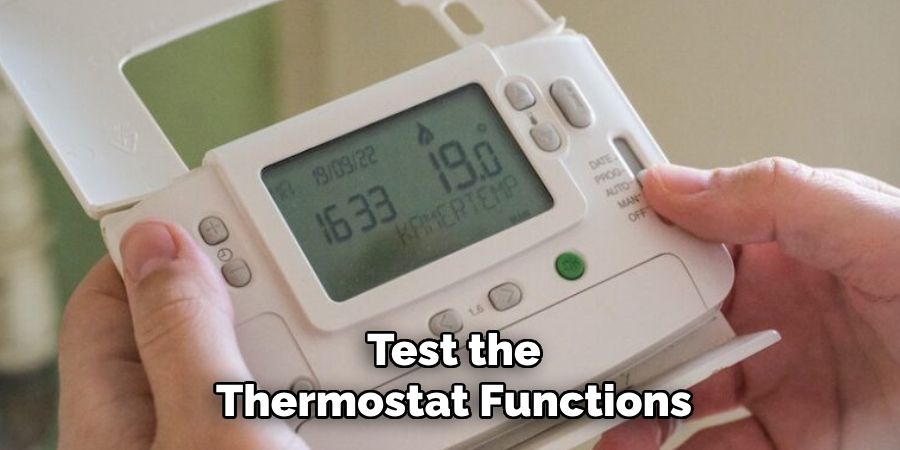
Once you have verified the lock settings, test your thermostat’s overall functionality. Ensure it accurately displays temperature readings, responds to manual adjustments, and follows any programmed schedules. Additionally, consult the device manual to confirm that all features you intend to use are active and operating as expected. If any issues arise, perform troubleshooting as outlined in the manual or contact customer support for assistance.
Step 5: Finalize Installation and Setup
After verifying the thermostat functions, ensure the device is securely mounted and all wiring connections are correctly fastened. Clean any dust or debris from the installation area to maintain optimal performance. Finally, double-check the thermostat settings to confirm that preferences such as temperature units, time, and date are correctly configured. Once everything is set, your thermostat should be ready for use, providing you with comfortable and efficient temperature control.
Step 6: Troubleshooting
If the thermostat does not function as expected, check the power supply to ensure the device receives electricity. Verify that all wiring connections are correctly secured and aligned with the manufacturer’s installation guide. If the issue persists, consult the user manual to identify specific error codes or settings that may need adjustment. For further assistance, consider reaching out to the manufacturer’s support team for professional guidance.
Step 7: Maintenance
Regular maintenance of your thermostat ensures its longevity and optimal performance. Clean the device’s exterior with a soft cloth to remove dust and debris. Periodically check the wiring and connections for any signs of wear or damage. Additionally, update the device’s firmware if applicable to keep it functioning efficiently with the latest features. Always follow the manufacturer’s maintenance recommendations to avoid potential issues.
Step 8: Keep Up With Technology
As technology continues to advance, so do thermostats. It’s essential to keep up with the latest trends and advancements in smart thermostat technology to ensure you have the most efficient and effective device for your home. Stay informed about new features, compatibility with other smart devices, and potential energy savings. Consider upgrading your thermostat every few years if necessary.
By following these steps, you can make the most out of your smart thermostat and create a more comfortable and energy-efficient home.
5 Things You Should Avoid
- Forgetting the Default PIN Code: Many Trane thermostats have a default PIN or passcode. Forgetting this code or not noting it down can make the unlocking process more complicated. Always refer to the user manual for the default PIN and save it in a secure place.
- Skipping the User Manual: Ignoring the user manual can lead to unnecessary frustration. The manual provides detailed instructions for your thermostat model, ensuring you follow the correct steps to unlock it. Avoid relying solely on guesswork or unrelated online guides.
- Entering the Wrong Passcode Multiple Times: Repeatedly entering the wrong passcode may trigger a lockout or further restrict access to the thermostat. Take your time to input the code carefully to prevent delays or additional issues.
- Resetting Without Proper Understanding: Performing a factory reset to unlock the thermostat should be your last resort. This action may erase your custom settings or schedules, causing you to lose valuable configurations. Understand the implications of a reset before proceeding.
- Ignoring Model-Specific Instructions: Different Trane thermostat models may have distinct unlocking procedures. Applying steps meant for a different model can lead to errors or even damage. Always refer to the instructions applicable to your specific model.
How Do I Turn Off Screen Lock on a Trane Thermostat?
To turn off the screen lock feature on your Trane thermostat, follow these simple steps:
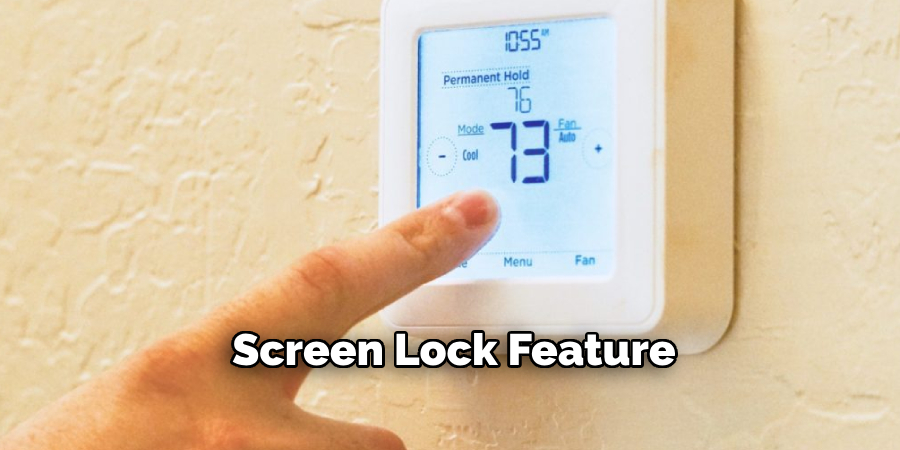
- On your thermostat’s main screen, press and hold down the “Settings” button for about 5 seconds.
- A new menu will appear, scroll through the options until you reach “Screen Lock”.
- Press the “+” or “-” buttons to toggle the screen lock setting to “OFF”.
- Once you have selected “OFF”, press the “Settings” button again to save your changes.
- Your screen lock should now be turned off and you will be able to access all menu options without any restrictions.
It is important to note that turning off the screen lock may vary slightly depending on the device you are using. Some devices may have a dedicated button for screen lock, while others may require you to navigate through the settings menu.
Conclusion
To successfully unlock your Trane thermostat, it is essential to carefully follow the provided steps tailored to your device model.
First, ensure you identify the lock settings in the menu and adjust them to “OFF” by using the appropriate menu navigation or dedicated buttons. Always remember to save your changes to finalize the process. If you encounter any difficulties, consult your thermostat’s user manual for model-specific instructions. Unlocking your thermostat allows you to adjust settings freely and maximize comfort in your space.
Hopefully, the article on how to unlock Trane thermostat has been helpful and informative. However, there are other features and functions that you can explore on your thermostat to further optimize its use.