
Wireless cameras have revolutionized home security and monitoring, offering flexibility in installation and operation that wired cameras can’t match.
Despite their convenience, many users are intrigued by the possibility of using these cameras even without a dedicated receiver. This could be due to a variety of reasons such as a malfunctioning receiver, the desire for a simplified setup, or the intent to integrate the camera with other smart home devices.
In this section on how to use wireless camera without receiver, we’ll explore the prerequisites and steps for utilizing a wireless camera without a receiver, touching on alternative methods of access and the potential trade-offs involved.
Whether you’re a tech enthusiast or simply looking to refine your home security system, understanding these techniques can provide valuable insights.
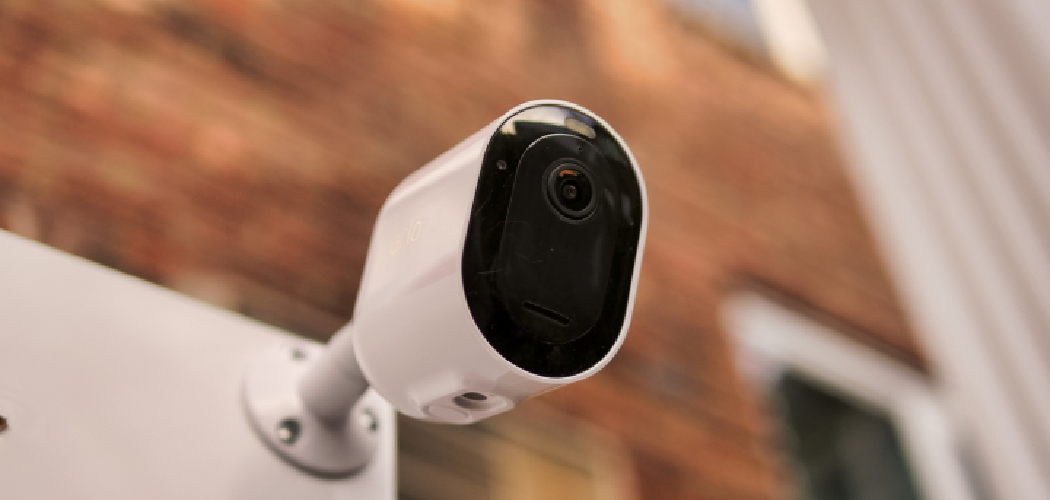
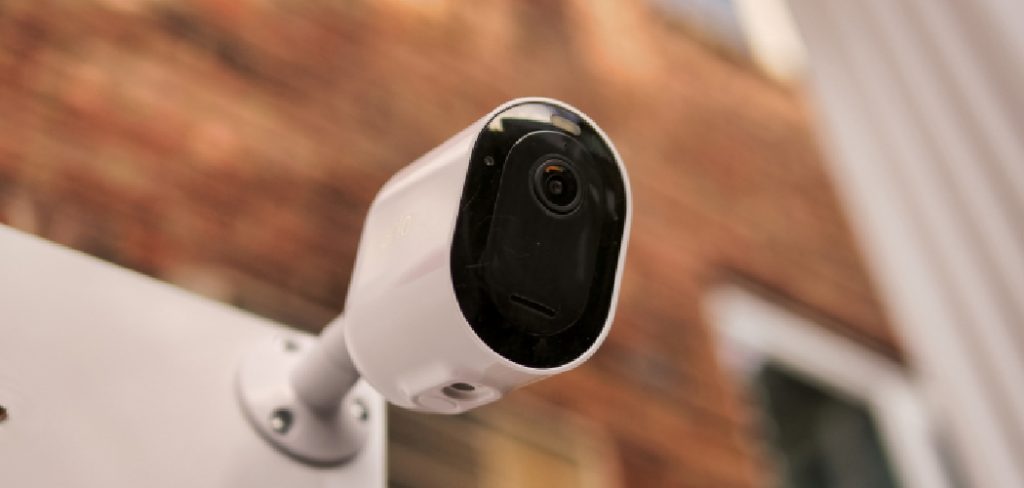
What is a Wireless Camera?
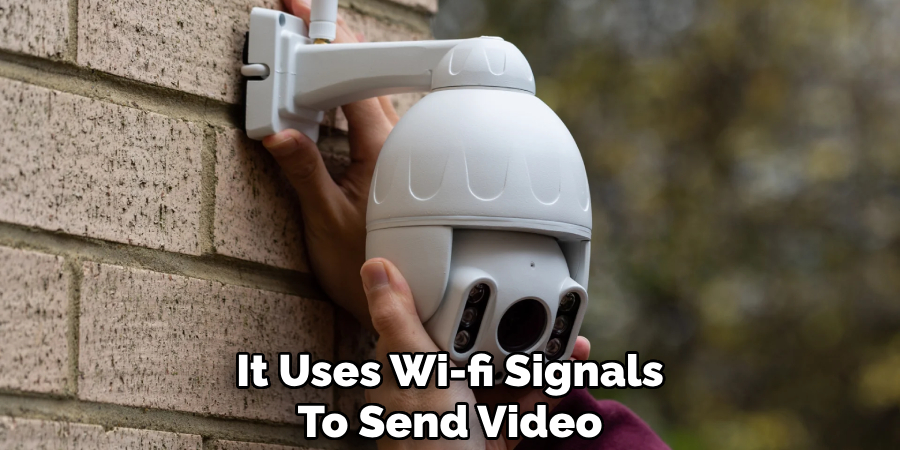
A wireless camera is a type of surveillance camera that doesn’t require a physical connection to transmit data. Instead, it uses radio frequencies or Wi-Fi signals to send video and audio footage to a receiver or other device for monitoring and recording.
These cameras typically come with built-in transmitters and antennas, allowing them to communicate directly with the receiver without the need for wires.
Why Use a Wireless Camera Without Receiver?
There are several reasons why someone might consider using a wireless camera without a receiver:
Convenience: As mentioned earlier, wireless cameras offer flexibility in terms of installation and operation, making them a convenient option for those who don’t want to deal with the hassle of wires.
Cost-effective: By eliminating the need for a separate receiver, users can save on the cost of purchasing additional equipment.
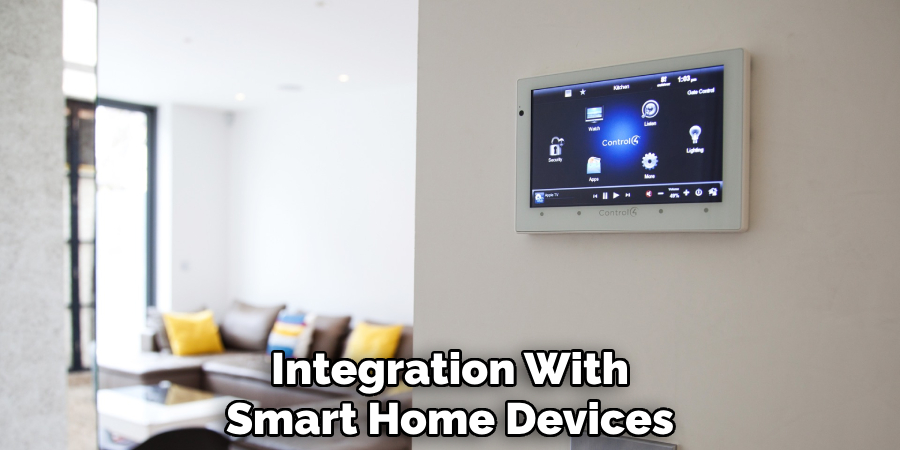
Integration with other devices: Some users may want to integrate their wireless camera with other smart home devices or security systems, which might not be compatible with a traditional receiver.
Now that we understand the benefits of using a wireless camera without a receiver let’s dive into the steps for setting one up.
Needed Materials
To set up a wireless camera without a dedicated receiver, you will need the following materials:
Wireless Camera:
The primary device you’ll be setting up.
Stable Wi-Fi Connection:
Essential for facilitating the camera’s connection to other devices.
Smartphone/Tablet/PC:
A device with internet access that can be used to monitor the camera feed.
Camera’s Mobile App or Compatible Software:
Depending on the make and model of the camera, an app is usually available to access the feed.
Power Source:
Ensure your camera is charged or connected to a power supply.
Cloud Storage Account (Optional):
For saving recordings if your camera supports cloud storage.
Security Software (Optional):
Additional software to enhance your camera’s security features if it doesn’t come with built-in encryption.

10 Step-by-step Guidelines on How to Use Wireless Camera Without Receiver
Step 1: Wireless Camera Transmission Technologies
It’s essential to understand the type of wireless technology your camera uses, such as Bluetooth, Wi-Fi, or radio frequencies. This will determine the range and compatibility with other devices. You can find this information in the camera’s user manual or by contacting the manufacturer.
The most common technology used for wireless cameras is Wi-Fi, which offers a range of up to 300 feet in an open area. You’ll need to ensure that the other devices you plan to use for monitoring are also compatible with this technology. If not, you may need to invest in additional equipment such as a Wi-Fi extender or bridge.
Step 2: Connect the Camera to Your Wi-Fi Network
To use your wireless camera without a receiver, you’ll need to connect it to your Wi-Fi network. This can usually be done through the camera’s mobile app or software by selecting the option to connect to a Wi-Fi network and entering your network name and password.
Once connected, you should see a notification confirming that your camera is now linked to your Wi-Fi. The camera should now be able to send footage directly to your other devices on the same network.
Step 3: Download the Camera’s Mobile App or Compatible Software
After connecting your camera to your Wi-Fi network, you’ll need to download the mobile app or compatible software to access the camera’s feed. This can usually be found on the manufacturer’s website or through a search in the app store.
Make sure to select the correct app for your specific camera model. Otherwise, you may not be able to access the feed. It’s also a good idea to check for any necessary updates for the app to ensure smooth operation. You can also use this app to adjust settings and access any additional features your camera may offer.
Step 4: Create an Account/Login
Some camera apps or software may require you to create an account before use. This is usually a quick and simple process that involves entering your email address, creating a password, and verifying your account. Once completed, you can log in to the app or software using your credentials.
You may also be able to log in using your Google or Apple account, depending on the app’s features. But if you already have an account, simply login to access the camera’s feed. The app may prompt you for permission to access your device’s camera and microphone, which you should allow to use the full features of your wireless camera.
Step 5: Position Your Camera
Now that your camera is connected to your Wi-Fi network and has a functional app or software, it’s time to position it. Depending on the type of wireless camera you have, it can be placed on a shelf, attached to a wall or ceiling, or even mounted outdoors.

Be sure to choose a spot that offers the best vantage point and covers the desired area for surveillance. You may also want to consider any potential obstructions or interference that could affect the camera’s signal. It’s also recommended to keep the camera at least 10 feet away from your router to avoid any connectivity issues.
Step 6: Adjust Camera Settings
Before you start recording, it’s a good idea to check and adjust your camera’s settings. This can be done through the app or software and may include options such as motion detection, night vision, and audio recording. You can also adjust the resolution and frame rate for better-quality footage.
It’s important to familiarize yourself with these settings and make any necessary adjustments according to your needs. You may also want to set up alerts or notifications for any detected motion or sound so you can be alerted if there is any activity in the surveillance area.
You can also enable or disable these alerts at any time through the app or software.
Step 7: Test the Camera
Once everything is set up, it’s time to test your camera. Make sure all your devices are connected to the same Wi-Fi network and open the camera app or software on your smartphone, tablet, or PC.
You should see the camera’s feed and be able to control any features or settings. You can also test motion detection by walking in front of the camera and checking if you receive an alert. If everything is working correctly, you’re ready to start using your wireless camera without a receiver.
The camera should now continuously send footage to your other devices for monitoring.
Step 8: Monitor Remotely
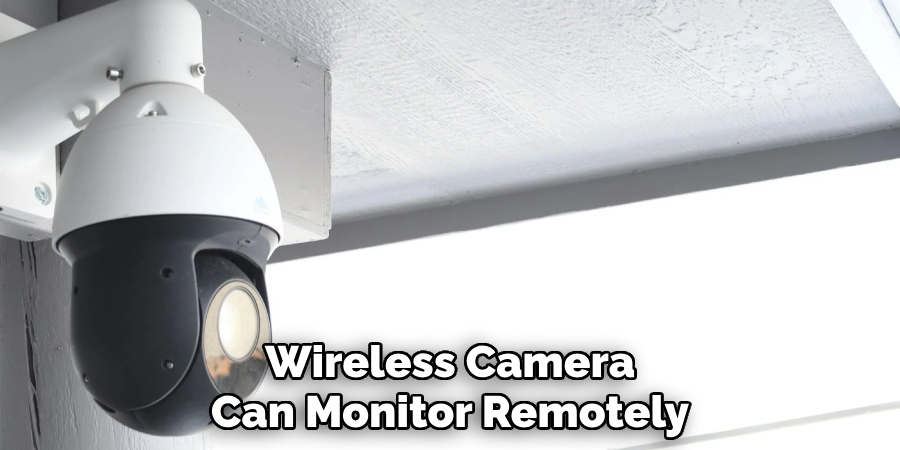
One of the greatest benefits of using a wireless camera without a receiver is the ability to monitor remotely. As long as your devices have an internet connection, you can access the camera’s feed from anywhere in the world.
This is especially useful for checking on your home or office when you’re away or for monitoring outdoor areas such as a driveway or backyard. Just make sure to keep your devices charged and connected to the internet. It’s also a good idea to have a backup power source in case of any outages.
But with the convenience of remote monitoring, you can have peace of mind knowing you can check on your surveillance area at any time.
Step 9: Save Recordings
If your camera supports cloud storage, you can save recordings directly to the cloud for easy access and backup. This is especially useful if you need to review footage or share it with others.
Some cameras may offer free or paid subscriptions for cloud storage, so be sure to check with the manufacturer for options. You can also save recordings locally on your device or a memory card inserted in the camera, but these may be limited in capacity and require regular maintenance.
You can also set up scheduled recording or continuous recording for uninterrupted surveillance. Just make sure to regularly delete old footage to free up space for new recordings.
Step 10: Keep Your Camera Secure
As with any wireless device, it’s important to keep your camera secure from potential hackers. Make sure to regularly update your camera’s firmware and password, and only access the camera through secure networks.
It’s also recommended to change your network’s SSID (Wi-Fi name) from its default setting so it cannot be easily identified by others. Additionally, you can disable remote access or set up two-factor authentication for added security.
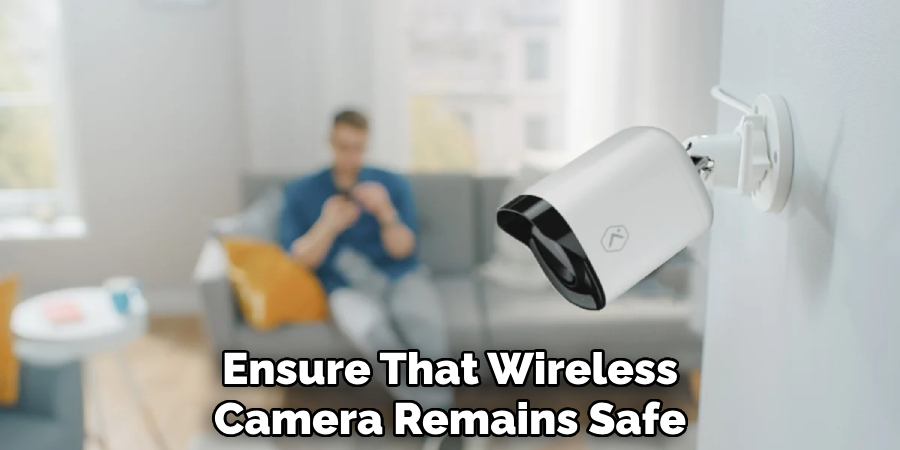
If you have multiple cameras, consider setting up a separate network for them to minimize potential vulnerabilities. By taking these precautions, you can ensure that your wireless camera remains secure and only accessible to authorized users.
Following these steps on how to use wireless camera without receiver and taking the necessary precautions, you can now successfully set up and use a wireless camera without a receiver for your surveillance needs.
Always monitor your home or office with caution and respect the privacy of others by not placing cameras in private areas such as bedrooms or bathrooms. Enjoy the convenience and peace of mind that comes with using a wireless camera for your security needs.
Troubleshooting Common Connection Issues
Despite following the steps mentioned above, you may encounter some connection issues with your wireless camera. Here are some common troubleshooting tips to help resolve those issues:
- Make Sure Your Wi-Fi Network is Working Properly and That All Devices Are Connected to It.
- Check if the Camera’s App or Software is Updated to the Latest Version.
- Restart Your Router and Camera by Unplugging Them for About 30 Seconds and Then Plugging Them Back in.
- Try Moving the Camera Closer to the Router to Improve Its Signal Strength.
- Double-check That Your Network’s Ssid and Password Are Correct When Setting Up the Camera.
- Make Sure There Are No Physical Obstructions or Sources of Interference Between the Camera and Router, Such as Walls or Other Electronic Devices.

If you continue to experience connection issues, consult the camera’s user manual or contact the manufacturer for further assistance. It’s important to address these issues as soon as possible to ensure the proper functioning of your wireless camera for security purposes.
Security Measures for Wireless Camera Usage
While wireless cameras offer convenience and flexibility, it’s important to take necessary security measures to protect your privacy and prevent any unauthorized access. Here are some important tips to keep in mind when using a wireless camera:
- Always Use Strong Passwords for Your Camera’s App or Software Login.
- Regularly Update the Firmware on Your Camera to Address Any Potential Security Vulnerabilities.
- Keep Your Camera’s Login Credentials Confidential and Avoid Sharing Them With Others.
- If You Notice Any Suspicious Activity on Your Camera, Such as Unauthorized Access or Changes in Settings, Immediately Reset the Password and Contact the Manufacturer for Assistance.
- Regularly Check for Software Updates and Install Them to Ensure the Latest Security Patches Are Applied.
By following these tips, you can ensure the security and privacy of your wireless camera usage.
Tips for Optimal Performance
To get the best performance out of your wireless camera, here are some useful tips to keep in mind:
- Check Your Internet Speed and Bandwidth Capacity to Ensure Smooth Streaming and Access to Camera’s Feed.
- Regularly Clean and Maintain the Camera’s Lens to Avoid Blurry or Distorted Footage.
- Optimize Camera Placement for Better Coverage of the Surveillance Area.
- Consider Using Multiple Cameras for Better Coverage and Monitoring of Your Property.
- Use Motion Detection and Scheduling Features to Save Battery Life and Storage Space.
- Regularly Check the Camera’s Battery Life and Replace or Recharge as Needed.
By following these tips, you can ensure optimal performance and longevity of your wireless camera. Enjoy the convenience and security it offers for your home or office surveillance needs!
Future Developments in Wireless Camera Technology
As technology continues to advance, we can expect to see further developments in wireless camera technology. Some potential future developments may include:
- Improved Battery Life and Performance for Longer Usage Time.
- Enhanced Security Features Such as Facial Recognition or Artificial Intelligence Capabilities.
- Integration with Smart Home Devices for Added Convenience and Control.
- More Versatile Mounting Options for Better Coverage and Easy Installation.
- Increased Connectivity and Compatibility with Different Networks and Devices.
- Smaller and More Discreet Designs for Better Hidden Surveillance.
It’s an exciting time for wireless camera technology, and we can look forward to even more advancements in the near future. Keep an eye out for updates and new features from your favorite manufacturers!
Frequently Asked Questions
Q: Can I Use a Wireless Camera Without a Receiver?
Yes, you can use a wireless camera without a receiver by connecting it to your Wi-Fi network and accessing the camera’s feed through an app or software on your smartphone, tablet, or PC.
Q: Do I Need a Special Camera for This?
No, most modern wireless cameras have the capability to connect to a Wi-Fi network and be used without a receiver. Just make sure to check the camera’s specifications before purchasing.
Q: How Far Can The Camera Be From My Router?
It’s recommended to keep the camera at least 10 feet away from your router to avoid any connectivity issues. However, this may vary depending on your specific camera and network setup.
Q: Can I Monitor My Camera From Anywhere?
Yes, as long as your devices have an internet connection, you can remotely access and monitor your camera’s feed from anywhere in the world.
Conclusion
In summary, on how to use wireless camera without receiver, utilizing a wireless camera without a dedicated receiver is a feasible endeavor with today’s technology.
By leveraging the inherent versatility of wireless cameras and integrating them with alternative devices such as smartphones, tablets, or computers, one can easily maintain the surveillance capabilities of their security system.
However, it’s imperative to consider the security implications and ensure that any alternative setup does not compromise the safety and privacy of your space.
As you move forward with implementing these methods, always prioritize secure connections and stay informed about the latest secure technologies to protect your home or business effectively.