
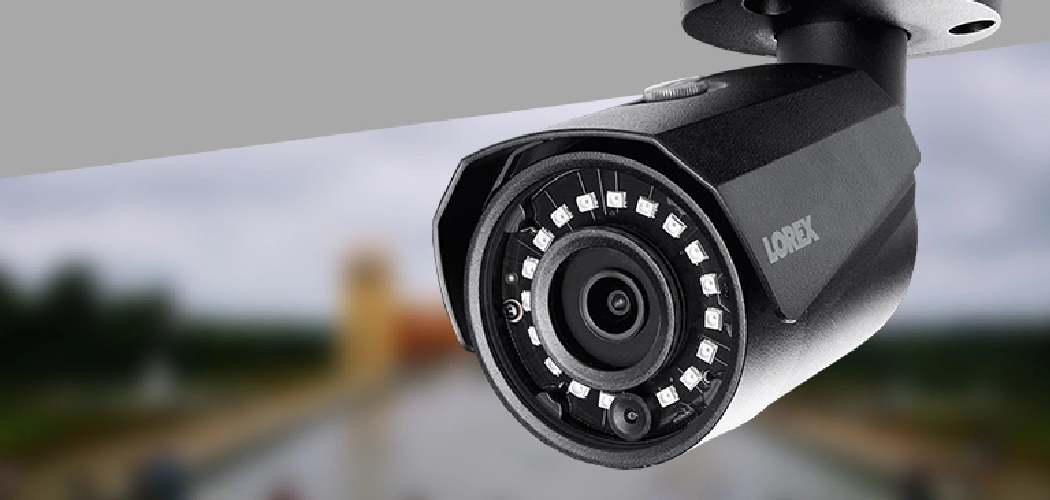
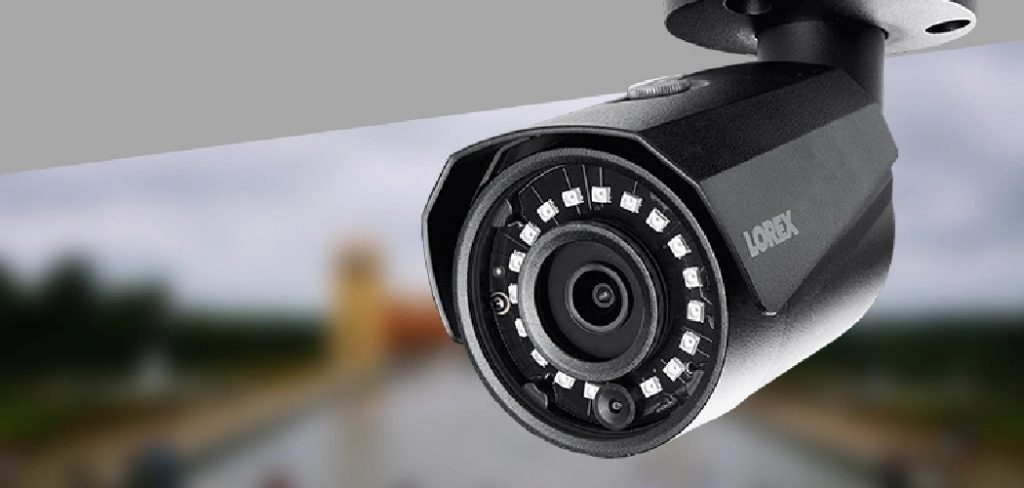
Understanding how to view Lorex cameras on PC can give you greater flexibility in monitoring your home or business security. Lorex cameras are compatible with various devices, but using a PC opens up more options for viewing live feeds, reviewing recorded footage, and configuring settings. This method offers a centralized control point for your security system, making it easier to manage multiple cameras at once.
To view your Lorex cameras on a PC, you will need to utilize the Lorex desktop software or a compatible web client. Begin by downloading the appropriate software from the official Lorex website, ensuring it matches your camera model and PC operating system. Once installed, follow the setup instructions to connect your cameras to the software.
This process typically involves entering the device ID, username, and password associated with your security system. After the connection is established, you can access live video streams, playback recordings, and adjust settings directly from your PC for enhanced convenience and control.
Accessing Lorex camera feeds on a computer may sound complex if you’re new to security systems, but the process is surprisingly user-friendly with the right tools. Whether you’re setting up remote access for the first time or planning to enhance your current system, this guide will take you through every step in detail. By the end, you’ll have everything you need to seamlessly integrate your Lorex cameras with your PC, ensuring peace of mind and secure monitoring.
Why You Should Know How to View Lorex Cameras on PC
The ability to view Lorex cameras on a PC is invaluable for seamless surveillance and security management. Compared to smaller devices like smartphones or tablets, a PC offers a larger screen for monitoring detailed footage. This is especially important when monitoring multiple cameras at once, as you can observe multiple feeds simultaneously with better clarity.
Having Lorex camera feeds accessible on a PC ensures immediate access to both live streaming and recorded footage. Whether you’re managing security for a home or business, this adds a layer of convenience by allowing you to review and save footage directly to your computer’s storage. This capability also enhances remote accessibility, making it easier to manage your setup even while away from your property.
Additionally, configuring your Lorex cameras on a PC allows you to tackle advanced settings such as motion detection sensitivity, zone adjustments, and scheduled recordings. These customization options optimize the performance of your security system, providing an enhanced feeling of safety and control.
Step-by-Step Guide: How to View Lorex Cameras on PC
Step 1: Check System Requirements
Before beginning the installation process, ensure your PC meets the necessary system requirements for running Lorex software. Most Lorex cameras are compatible with both Windows and macOS systems, but specific versions of their client software may require certain operating system updates or hardware specifications.
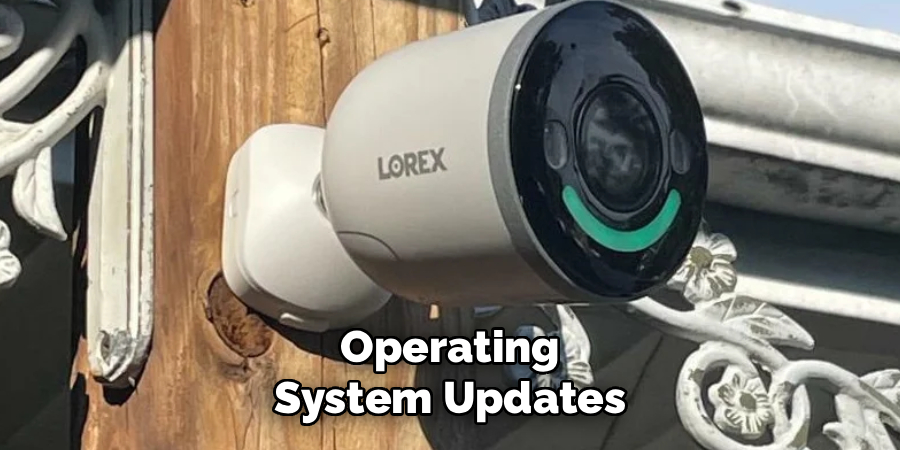
Visit the Lorex user manual or product guide for your specific camera model to confirm compatibility. You might need ample RAM, adequate storage, and a fast processor for your PC to handle the video streams effectively. Verifying your system’s readiness at this stage prevents technical hiccups during the installation process and ensures a smoother connection.
Step 2: Download and Install the Lorex Client Software
To connect your Lorex cameras to your PC, you’ll need to download and install their proprietary client software. Begin by navigating to the official Lorex website, where you’ll find downloadable software options for various camera models and operating systems.
Locate the appropriate software for your camera and PC, select the download option, and follow the on-screen installation instructions. During the installation, accept permissions and customize file location settings as needed. Once installed, the software becomes your centralized hub for accessing camera feeds and configuring other key features.
Step 3: Configure Camera Network Settings
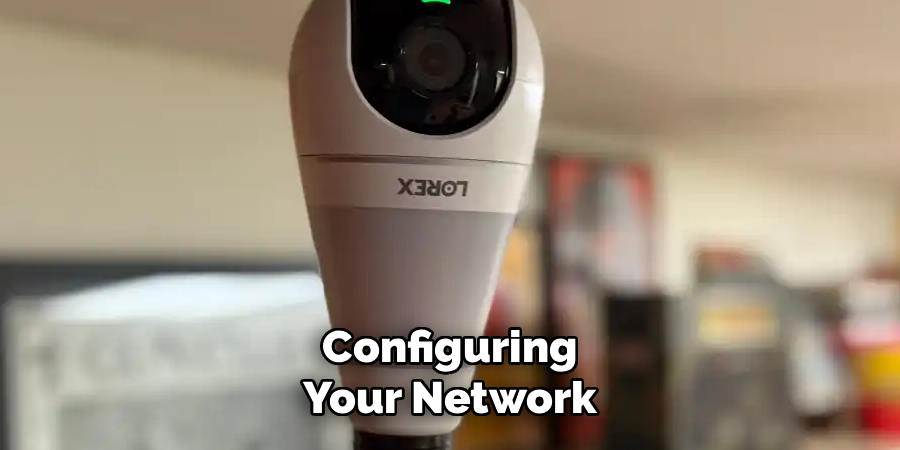
To view Lorex cameras on PC, your security system must be properly connected to your local network. Ensure that your cameras are powered on and connected to the same Wi-Fi network as your PC. For wired setups, verify that every Ethernet cable is securely plugged into the appropriate ports.
Open the Lorex client software and proceed to the network configuration menu. Here, you’ll either allow the software to auto-detect your connected cameras or manually input IP addresses to establish connections. Establishing a reliable network link ensures that your PC recognizes the cameras, enabling smooth access to live feeds.
Step 4: Add Cameras to the Lorex Software
After configuring your network, it’s time to add your cameras to the client software. Launch the Lorex application and look for the “Add Device” or “Camera Management” option, usually located on the dashboard or settings menu.
If your cameras were automatically detected during network setup, they should appear in a list. Select each camera, assign it a name if prompted, and confirm the connection. For manual addition, enter each camera’s unique credentials, including the IP address and port number. Adding your cameras to the software completes the connection process and enables access to the camera feed.
Step 5: Adjust Display Preferences
Once your cameras are connected, you can customize how their feeds appear on your PC. The Lorex client software typically allows users to view multiple cameras simultaneously on a split-screen layout. You can also select individual cameras for full-screen viewing when detailed monitoring is needed.
Explore the software’s display preferences to adjust resolution, switch between brightness settings, and select your preferred layout. Optimizing the display settings ensures better clarity and enhanced user experience, making it easier to focus on critical areas of interest.
Step 6: Enable Remote Access
For ultimate convenience, configure remote access functionality so you can view your Lorex cameras on PC when away from home. Within the client software, locate the options for setting up remote viewing. This feature will often require you to create an account on Lorex’s secure platform and link your cameras to your user profile.
By enabling remote access, you’ll have the freedom to monitor your security system from virtually anywhere. This setup is especially beneficial for homeowners who need consistent surveillance or business owners managing properties remotely.
Step 7: Set Up Motion Detection and Notifications
One of the advantages of managing Lorex cameras on a PC is the ability to adjust motion detection settings for each camera. Access the motion detection configuration menu through the software, where you can customize zones, sensitivity levels, and the type of alerts you want to receive.
Tailoring these settings ensures the cameras focus on key areas of activity while minimizing false alarms caused by irrelevant movements. Syncing these notifications to your email ensures you remain updated about potential security risks.
Step 8: Save Footage Locally or on Cloud Storage
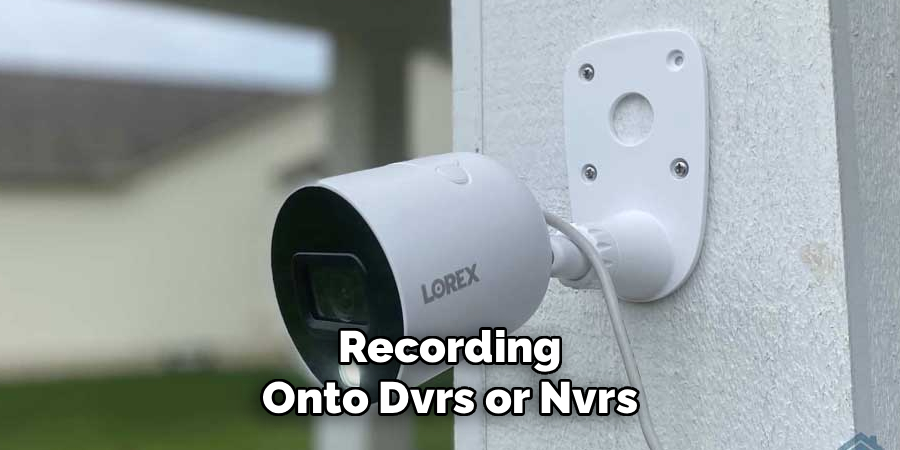
Beyond recording onto DVRs or NVRs, viewing Lorex cameras on PC allows you to save footage directly to your computer’s storage or cloud-based accounts. Explore the options in the software for downloading recorded clips manually or setting up automatic saving schedules.
Verify that your PC has sufficient storage space for the recordings, especially if you’re saving high-resolution video files. Safeguarding your footage ensures you always have access to critical events for review or evidence purposes.
Step 9: Maintain and Troubleshoot the Connection
Monitoring your Lorex cameras on a PC is an ongoing process that benefits from occasional maintenance and adjustment. Periodically update the Lorex software to its latest version, as updates often include performance enhancements and new features.
Should your connection face interruptions, restart the client software or reconnect devices to your Wi-Fi network. For persistent issues, consult Lorex’s support resources or the troubleshooting guide included with your camera. Regular maintenance keeps your system operating seamlessly.
Advanced Setup Options
For users seeking enhanced functionality, Lorex offers several advanced setup options to tailor your system to specific needs. One such feature is custom motion detection zones, which allow you to define particular areas within the camera’s view to monitor for activity, minimizing false alerts from irrelevant motion. Additionally, you can fine-tune sensitivity levels to ensure only significant movements are captured.
Another powerful option is the integration of your Lorex system with smart home devices such as Amazon Alexa or Google Assistant. This integration enables voice-controlled commands for viewing live feeds or adjusting camera settings. For increased security, you can also enable multi-factor authentication for access to your system, adding an extra layer of protection to guard against unauthorized access.
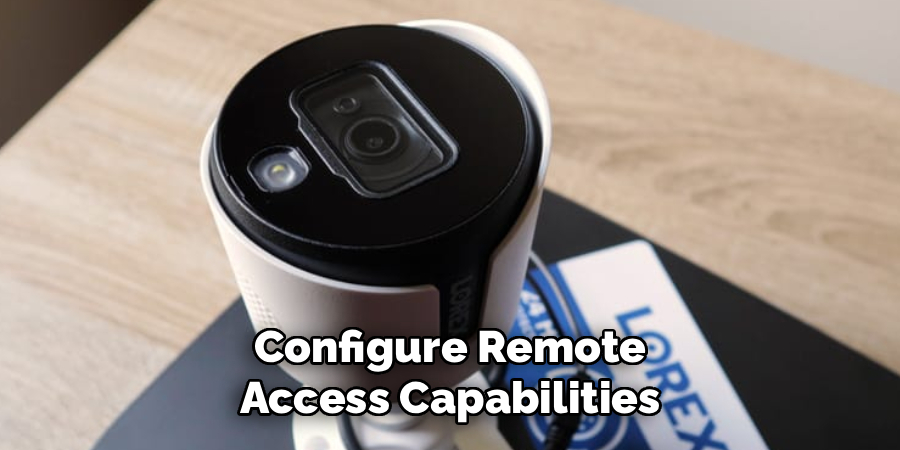
Lastly, advanced users can configure remote access capabilities, allowing you to view and manage your system from anywhere through the Lorex app. These advanced setup options provide flexibility and precision, ensuring your system meets your unique surveillance requirements.
Frequently Asked Questions
Can I view Lorex cameras on my PC without internet access?
Yes, if the cameras and PC are connected to the same local network, you can view camera feeds without internet access. However, remote viewing or cloud storage requires an active internet connection.
Is the Lorex Client Software free to use?
The Lorex client software is free to download and use for managing and monitoring Lorex cameras. Some advanced features or cloud services may have additional subscription costs.
What if the software doesn’t detect my cameras?
If the auto-detect feature fails, check network connections and IP addresses. Restarting both your camera and PC might help. Otherwise, try manually adding the device using its credentials.
Can I view multiple cameras simultaneously on my PC?
Yes, the Lorex client software supports multi-camera displays, allowing you to monitor several feeds on one screen. Layout options enable further customization for optimal viewing.
Is it possible to record video directly to my PC?
Absolutely. Most Lorex software options include functionality for saving footage onto your PC. Ensure you have ample storage space to accommodate high-quality video files.
Conclusion
Knowing how to view Lorex cameras on PC enhances your ability to monitor and secure your environment efficiently. By following these well-detailed steps, you can establish a seamless connection, configure settings to suit your needs, and capitalize on the convenience of PC-based surveillance.
Whether you’re a first-time user or upgrading your system, utilizing a PC for your Lorex cameras brings greater control and flexibility. Start setting up your cameras today and enjoy the peace of mind that comes with a perfectly managed security system!