
Winding a garage door spring can seem like a daunting task, but with the right tools and instructions, it can be done safely and efficiently. Properly wound springs are essential for the smooth operation of your garage door, ensuring that it opens and closes correctly, and reducing the risk of damage or injury.

This guide will provide you with step-by-step instructions on how to wind a garage door spring, along with important safety tips and precautions to take before you begin. Whether you are a seasoned DIY enthusiast or just looking to save on repair costs, this introduction will set the stage for a successful and safe garage door spring winding process.
What You Will Need
Before you begin, it is essential to gather all the necessary tools and materials. This will ensure that you have everything at hand when you need it and prevent any delays in the process.
A Ladder or Step Stool:
Make sure it is stable and can reach the height of your garage door spring. Safety should always be a top priority, so make sure your ladder or step stool is in good condition and on a flat surface.

Protective Gear:
Winding a garage door spring can be dangerous, so it is crucial to wear appropriate safety gear. This includes goggles, gloves, and sturdy shoes to protect your eyes, hands, and feet from any potential hazards.
Winding Bars:
These are specialized tools that are used to wind the springs. It is essential to use the correct size of winding bar for your specific type of spring. Using the wrong size could result in injury or damage to the spring or other parts of your garage door.
A Socket Wrench:
You will need this to loosen and tighten the set screws on the spring cones. Make sure you have the correct size socket for your set screws.
Vice Grips:
These are used to keep the tension on the springs while winding or when loosening and tightening the set screws.
A Tape Measure:
This will be helpful in measuring the length of your garage door springs, which will determine how many turns you need to wind them.
Safety Precautions
Before starting any work on your garage door springs, it is crucial to take some safety precautions. This will help prevent any accidents or injuries and ensure a smooth and successful winding process.
- Make sure to unplug your garage door opener before starting work on the springs. This will prevent anyone from accidentally opening the door while you are working on it.
- Always wear protective gear, as mentioned earlier. This includes goggles, gloves, and sturdy shoes.
- Keep children and pets away from the work area to avoid any accidents or distractions.
- Do not attempt to wind or repair a spring if it is visibly damaged or broken. In this case, it is best to call a professional for assistance.

7 Easy Step-by-Step Guidelines on How to Wind a Garage Door Spring
Step 1: Close the Garage Door
Before beginning any work on your garage door springs, it is crucial to ensure that the garage door is fully closed. This step is important for both safety and ease of access to the springs. Once the door is closed, use a clamp or vice grip to secure the door to the track.
This will prevent the door from opening while you work, reducing the risk of injury. Double-check that the door is stable and securely fastened before moving on to the next step.
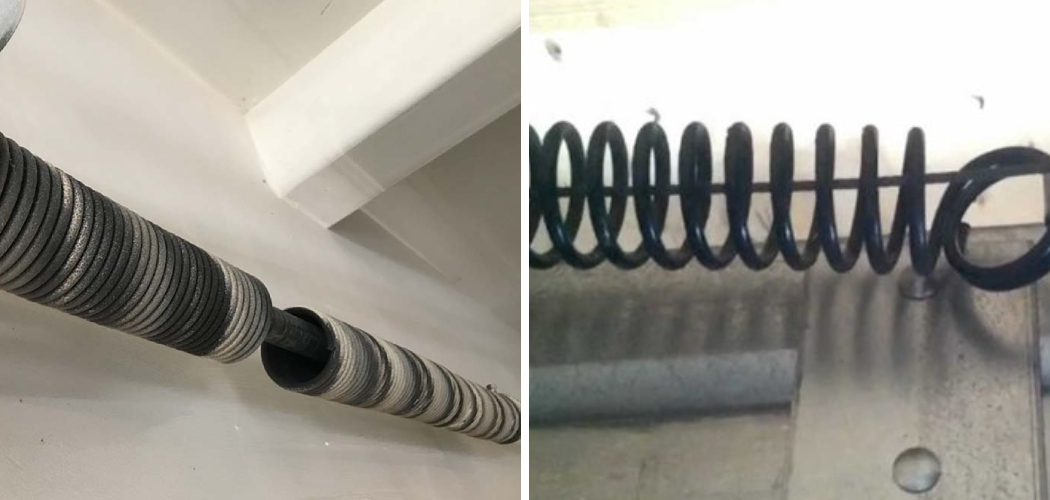
Step 2: Identify the Type of Spring
Before you start winding the spring, it is important to identify the type of spring your garage door uses. There are primarily two types of garage door springs: torsion springs and extension springs.
Torsion Springs:
Torsion springs are mounted horizontally above the door opening. These springs use torque to lift the door and typically last longer than extension springs. They require specific winding techniques and tools.
Extension Springs:
Extension springs are located on either side of the door, extending along the horizontal track. These springs stretch and contract to lift the door and are generally easier to install, though they can be more dangerous to work with due to the higher risk of snapping.
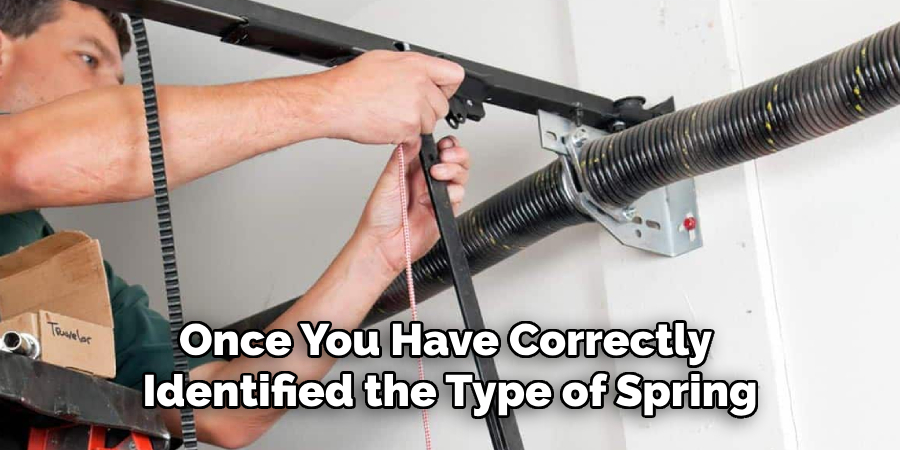
To ensure that you are following the correct procedures and using the appropriate tools for your type of spring, it is crucial to identify which kind of spring your garage door utilizes. Check the manufacturer’s specifications if you are uncertain, and look for any labels that can provide this information.
Once you have correctly identified the type of spring, you can proceed with the winding instructions specific to that spring type. Ensuring you know your spring type will greatly enhance the safety and efficiency of the spring winding process.
Step 3: Determine the Number of Springs and Their Direction
It is important to know how many springs your garage door has, as well as their direction. This information will help you determine the number of turns required for each spring before winding.
To find out the number of springs, simply count them on both sides of the door. Most residential garage doors have two springs, but some may only have one or three, depending on the size and weight of the door.
Next, determine the direction in which your springs wind by looking at the end of each spring cone. If it winds clockwise, it is a right-hand spring, and if it winds counterclockwise, it is a left-hand spring. This information will be helpful when winding the springs in the later steps.
Step 4: Release Tension from the Old Springs
Releasing the tension from the old springs is a critical step in ensuring your safety while winding the new springs. Begin by inserting one of the winding bars into a winding cone. Make sure the bar is securely in place before proceeding. Carefully rotate the winding bar to release the tension, keeping a firm grip to prevent it from slipping.
Slowly and methodically, insert the second winding bar into the next hole of the winding cone and remove the first bar. Repeat this process, alternating the bars in and out of the holes until the spring has no more tension.
Be sure to take your time with this step, as rushing can lead to loss of control and potential injury. Once the tension is fully released, use your socket wrench to remove the set screws from the spring cones, leaving the old springs free to be removed. Remember to follow these steps for each spring, ensuring all old springs are properly detention and removed before proceeding to the next step.
Step 5: Determine the Number of Turns Required for Your New Springs
The number of turns required for your new springs depends on a few factors, including the length of the spring and the weight of your garage door. As mentioned earlier, it is essential to use a tape measure to accurately measure the length of the old spring before removing it.
Once you have this measurement, consult with a professional or refer to online resources specific to your type and size of spring to determine the appropriate number of turns needed. It is crucial not to guess or estimate this number as using too little or too much tension can cause harm and damage to your garage door.
Step 6: Wind the New Springs
Using the winding bars, begin winding the new springs in a similar fashion to how you released tension from the old ones. Remember to always use caution and take your time with this step, as it can be dangerous if not done correctly.
Use your socket wrench to secure the set screws once the correct number of turns has been reached. Repeat this process for each spring, ensuring that both are wound evenly and have equal tension.
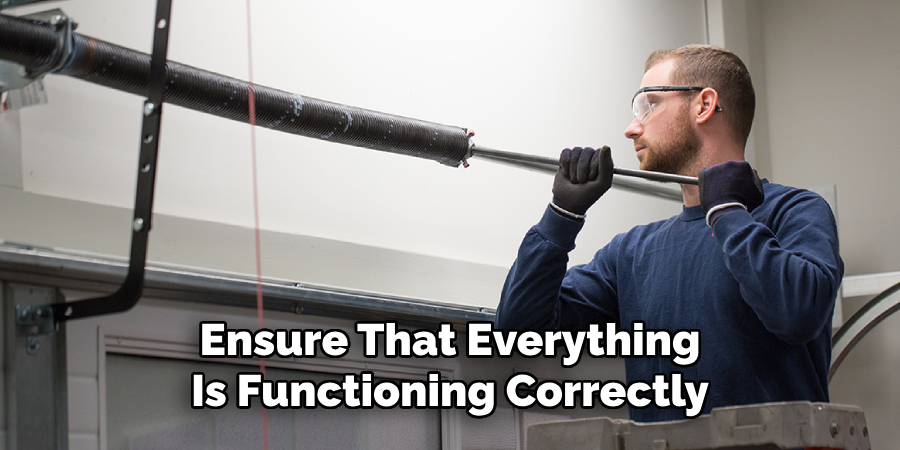
Step 7: Test Your Garage Door
Once the new springs are wound and secured, it is essential to test your garage door to ensure that everything is functioning correctly. Begin by removing any clamps or vice grips that were used to secure the door during the winding process. Carefully lift the garage door manually to check for balanced tension and smooth operation.
As you lift the door, pay attention to any unusual noises or resistances that could indicate an issue with the spring installation. The door should open easily and stay open on its own at about halfway without significant effort or slamming shut. If you notice any problems, stop and consult a professional before proceeding.
Following these steps on how to wind a garage door spring and taking the necessary precautions will ensure a safe and successful spring winding process. Remember to always prioritize safety, and do not hesitate to seek professional help if needed.
Additional Tips
Use Quality Tools:
Always use high-quality tools designed for garage door repairs. Investing in good tools can increase your safety and the likelihood of successfully completing the task.
Safety Gear:
Wear protective gloves and safety glasses to protect yourself from potential injuries while handling springs and tools.
Partner Up:
If possible, have a partner assist you. Extra hands can be invaluable for holding parts in place and ensuring that everything is aligned properly.
Double-Check Measurements:
Accuracy is crucial when measuring the length of your springs and the number of turns required. Double-check your measurements to ensure that everything is precise.
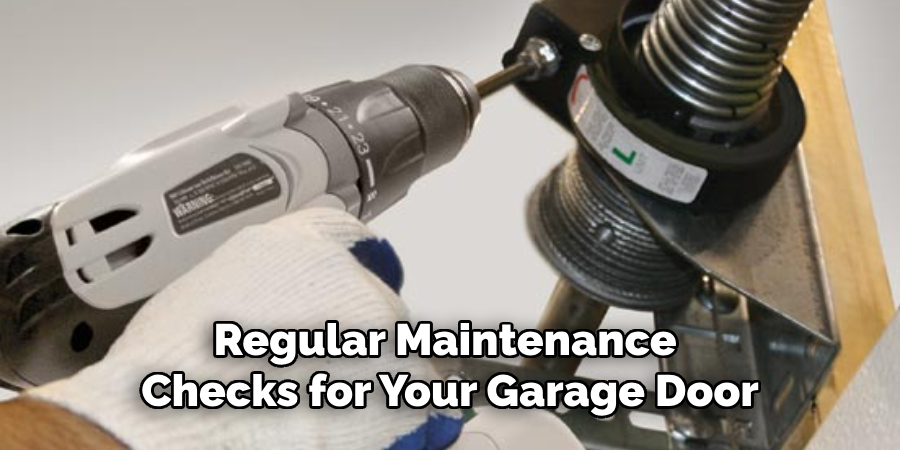
Regular Maintenance:
Schedule regular maintenance checks for your garage door and its components. Keeping your springs well-lubricated and clean can extend their lifespan and improve performance.
Consult the Manual:
Refer to your garage door’s manual for any specific instructions and safety warnings related to your model. Manuals often contain crucial information that can help you avoid common pitfalls.
Know When to Call a Professional:
If you are ever in doubt about any part of the process, it is better to call a professional. Winding garage door springs can be very dangerous, and professional help can prevent injury and ensure the job is done correctly.
By following these additional tips, you can enhance both the safety and efficiency of winding your garage door springs.
Frequently Asked Questions
Q: Can I Replace Only One Garage Door Spring, or Do I Need to Replace Both at the Same Time?
It is recommended that both springs be replaced at the same time, even if only one of them is damaged. This will ensure that both springs have equal tension and are less likely to break in the future.
Q: How Often Should I Replace My Garage Door Springs?
The lifespan of garage door springs varies depending on usage and quality, but typically, they should be replaced every 7-9 years as a preventive measure. However, if you notice any signs of wear or damage, it is best to replace them sooner rather than later.
Q: Can I Install My Own Garage Door Springs?
While some DIY enthusiasts may be able to successfully install their own springs, it is always recommended to seek professional help for this task. The potential dangers involved make it crucial to have the knowledge and experience of a trained technician.
Conclusion
Replacing garage door springs can be a challenging and potentially dangerous task. It is essential to take all necessary precautions and follow the correct procedures to ensure your safety and the proper functioning of your garage door.
By following these steps on how to wind a garage door spring and consulting with professionals when needed, you can successfully replace your garage door springs while minimizing the risk of injury. Remember to always prioritize safety above all else when working on any home improvement projects.