

Are you tired of waking up to the piercing sound of a low-battery smoke alarm or constantly replacing the batteries? One solution is to hardwire your smoke alarms. Hardwired smoke alarms are connected directly to your home’s electrical system and typically come with a backup battery in case of power outages.
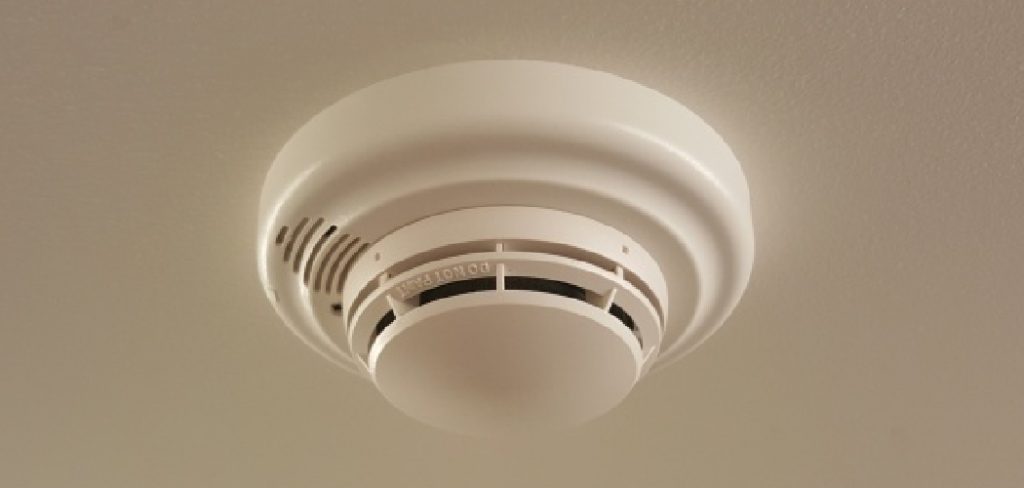
How to wire a smoke alarm in your home is a critical step towards ensuring safety and peace of mind. Smoke alarms play a pivotal role in alerting residents of potential fire threats, providing precious time to evacuate safely. This guide is designed to walk you through the detailed process of wiring a smoke alarm, offering a step-by-step approach from selecting the right tools and materials to ensuring proper installation.
With clear instructions and important safety tips, this guide aims to empower homeowners with the knowledge and confidence to safeguard their homes against fire hazards.
What are the Importance of Smoke Alarms?
Smoke alarms are essential safety devices that can save lives and protect property. They are designed to detect smoke particles in the air, which triggers a loud alarm sound to alert residents of a potential fire threat.
According to the National Fire Protection Association (NFPA), three out of five home fire deaths occur in homes without working smoke alarms. Also, working smoke alarms in your home can reduce the risk of dying in a fire by half.
Smoke alarms are also crucial for early detection of fires, giving occupants more time to evacuate and call for help. This is especially important at night when people are sleeping and may not immediately smell smoke or notice other signs of a fire.
Moreover, having hardwired smoke alarms installed in your home can also lower your insurance premiums, as it shows that you have taken the necessary steps to protect your home against fire hazards.
What Will You Need?
Before you begin wiring a smoke alarm, gathering all the necessary tools and materials is important. This includes:
- Smoke alarm(s)
- Electrical wires
- Wire strippers
- Screwdriver
- Pliers
- Wire nuts or connectors
Make sure to read the manufacturer’s instructions for your specific smoke alarm model before starting the installation process.
10 Easy Steps on How to Wire a Smoke Alarm
Step 1. Turn Off the Power:
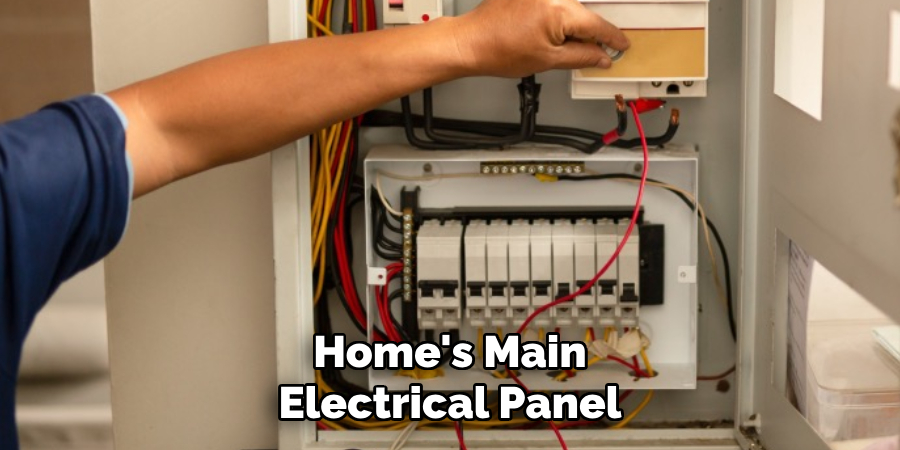
Before starting the installation, ensure your safety by turning off the power to the area where you will be installing the smoke alarm at your home’s main electrical panel. This prevents any risk of electrical shock during the installation process. Use a voltage tester to confirm that the power is indeed off.
Step 2. Install the Mounting Bracket:
Once you have confirmed that the power is turned off, locate the ideal position for your smoke alarm on the ceiling or high on a wall.
Mark the screw holes for the mounting bracket with a pencil. Using your screwdriver, secure the mounting bracket to the ceiling or wall. Make sure it is firmly attached to prevent the smoke alarm from dislodging.
Step 3. Connect the Wires:
After the mounting bracket is securely in place, it’s time to connect the wires. Typically, you will need to connect three types of wires – black (hot), white (neutral), and yellow or red (interconnect).
Strip the insulation from the tips of the wires using wire strippers, exposing about 3/4 inch of bare wire. Twist the corresponding wires from the smoke alarm to the house wiring together, then secure each connection with wire nuts. Ensure a tight connection to prevent any electrical failures.
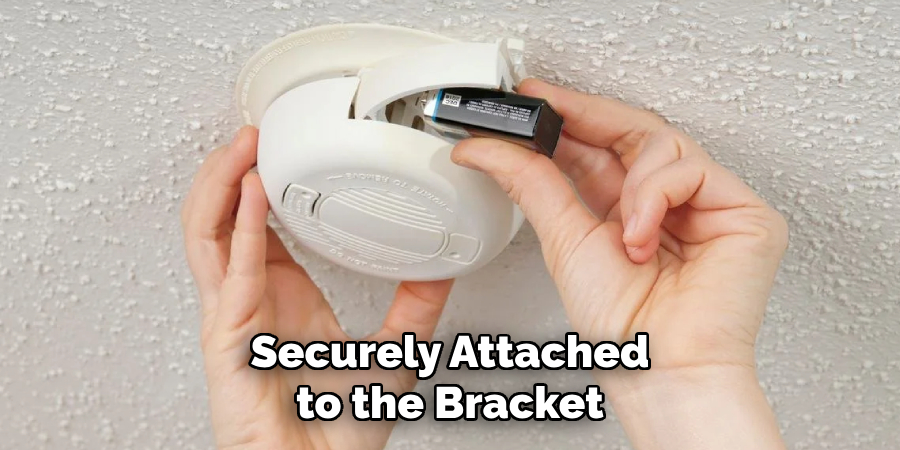
Step 4. Attach the Smoke Alarm to the Mounting Bracket:
With the wires now securely connected, it’s time to attach the smoke alarm to the mounting bracket you installed earlier. Most smoke alarms will easily twist onto the bracket until secure. Ensure that it is firmly in place to avoid any future dislodging. Once attached, gently pull it to test its stability.
Step 5. Restore the Power and Test the Smoke Alarm:
After the smoke alarm is securely attached to the bracket, head back to your home’s main electrical panel to restore power to the area. Once the power is back on, test the smoke alarm by pressing the test button, typically located on the face of the alarm.
Hold the button down until you hear a loud beep, indicating the alarm is functioning correctly. If your smoke alarm also has a test feature that simulates smoke, consider using it for an additional level of testing. Make sure to inform all household members about the test to avoid any panic.
Step 6. Interconnect Multiple Smoke Alarms (If Applicable):
If your home requires multiple smoke alarms to be interconnected — allowing all alarms to sound off simultaneously in the event of a fire — carefully follow the manufacturer’s instructions for interconnecting your specific models. Typically, this involves connecting the yellow or red interconnect wires from each smoke alarm together.
This step is crucial for houses with multiple floors or large areas, ensuring that an alert can be heard throughout the entire home, thereby maximizing the safety and response time for occupants. After completing the connections, test the interconnectivity by triggering one alarm and checking if the others sound off as well.
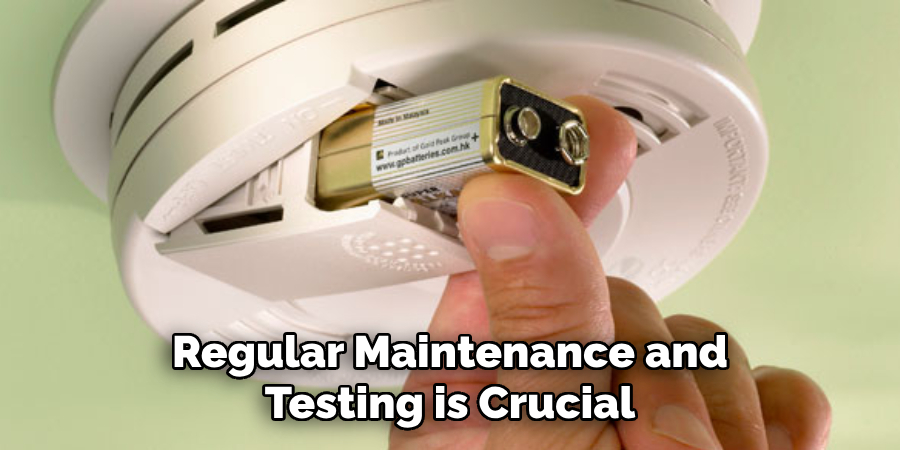
Step 7. Install Smoke Alarm Batteries:
Before considering your installation complete, ensure that your smoke alarm is equipped with backup batteries. This is crucial for maintaining the alarm’s functionality in case of power outages.
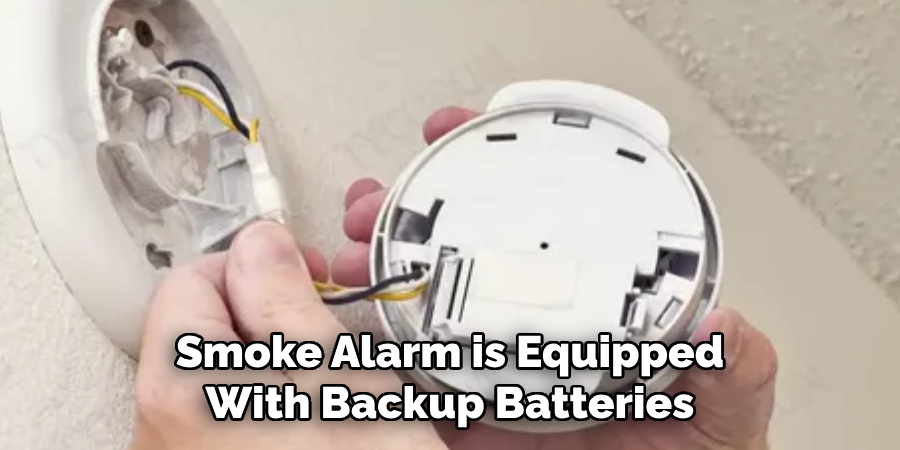
Open the battery compartment of your smoke alarm, which is usually accessible from the side or bottom of the unit. Insert the recommended type of batteries, making sure to align the positive and negative ends correctly as indicated inside the compartment. Close the compartment securely.
Once the batteries are installed, the smoke alarm may emit a brief chirp, indicating it is receiving power. Test the smoke alarm once more using the test button to confirm that it operates correctly with the batteries installed. This step is essential for ensuring your smoke alarm remains operational around the clock, providing peace of mind and increased safety for your home.
Step 8. Label and Date Your Smoke Alarm:
After your smoke alarm is installed and tested, take a moment to label it with the date of installation and the date by which it should be replaced, as per the manufacturer’s recommendations.
Most smoke alarms have a lifespan of 8-10 years. This practice will help you keep track of each alarm’s effective service period and ensure that your home remains protected with functioning alarms. Use a permanent marker to write the dates on the back or side of the alarm where it does not interfere with its operation or aesthetic.
Step 9. Maintain Regular Maintenance and Testing:
To ensure the smoke alarms in your home continue functioning effectively, performing regular maintenance and testing is crucial. Once a month, press the test button to check the alarm sound, and replace batteries annually or as needed when low battery signals are heard.
It’s also advisable to gently vacuum around the smoke alarm vents to remove any dust or debris that could interfere with its operation. Remember, a well-maintained smoke alarm is key to providing a reliable early warning in case of fire, significantly increasing the safety of your household.
Step 10. Familiarize Your Household with Smoke Alarm Sounds:
All household members need to recognize the sound of the smoke alarm and understand what actions to take when they hear it. Conduct a household meeting to discuss your fire evacuation plan, ensuring everyone knows the quickest and safest way out of the house from each room.
Practice your evacuation plan at least twice yearly, simulating different scenarios to ensure preparedness under various conditions. Remember, in the event of an actual fire, time is of the essence, and familiarity with the sound of your smoke alarms and an established evacuation plan can significantly enhance your family’s safety.
By following these steps and staying proactive with regular maintenance, you can ensure your home is equipped with functioning smoke alarms, providing early detection in case of a fire.
5 Additional Tips and Tricks
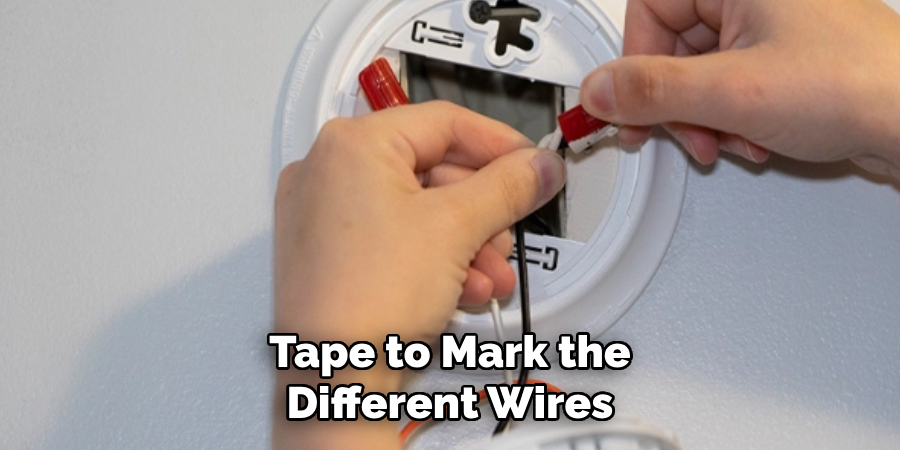
- Use Colored Tape for Identification: Before starting the installation, use colored electrical tape to mark the different wires (hot, neutral, and interconnect) for easy identification. This little step can significantly expedite the installation process and reduce the risk of wiring errors.
- Check Local Regulations: Check your local building codes and regulations before installing. Some areas may require that a licensed electrician install smoke alarms or have specific requirements for placement and types of alarms.
- Invest in Quality Wire Strippers: Having a good pair of wire strippers can make the installation process much smoother. Quality tools help ensure clean and precise stripping of the insulation, reducing the risk of damaging the wires and ensuring a better connection.
- Employ a Circuit Tester: Before working on any electrical wiring, use a circuit tester to ensure the power is off. This simple tool can prevent potential electric shock and is an essential safety measure during installation.
- Label Circuit Breakers: For future convenience, label your circuit breakers to identify which controls your smoke alarm’s power. This can save time and enhance safety when you need to turn the power off for maintenance or battery replacement.
With these additional tips in mind, you can make your smoke alarm installation process even smoother and safer.
5 Things You Should Avoid When Wiring a Smoke Alarm
- Ignoring Manufacturer’s Instructions: Each smoke alarm model may have specific installation and wiring requirements. Avoid the mistake of assuming all smoke alarms are wired the same way. Always follow the detailed instructions provided by the manufacturer.
- Mixing Different Brands in Interconnected Systems: When interconnecting multiple smoke alarms, it’s essential to use alarms from the same brand and model series. Different brands may use different signaling methods, which can lead to malfunction or failure in communication between units.
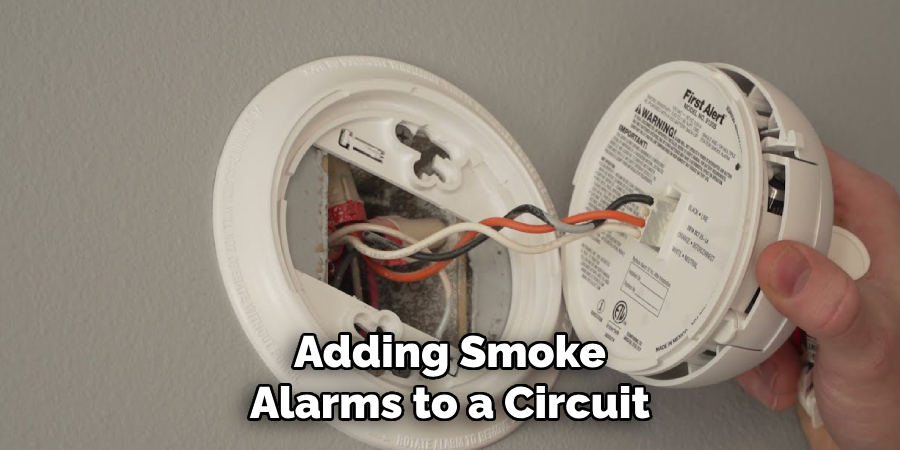
- Overloading Circuits: Adding smoke alarms to a circuit that is already near its capacity can lead to overloading. This risks tripping the circuit breaker and can compromise the reliability of the smoke alarms and other devices on the same circuit.
- Using Incorrect Wire Types: Ensure that you use the correct type of wire for connecting smoke alarms, typically as specified in the installation instructions. Using correct wire types or gauges can lead to proper functioning or even pose a fire risk.
- Poor Wire Connections: Secure and proper wire connections are crucial for the reliable operation of smoke alarms. Avoid using electrical tape alone to make connections; use wire nuts or other approved connectors to ensure each connection is tight and secure to prevent failures.
By avoiding these common mistakes, you can ensure a successful and safe installation of your smoke alarms. Remember to always follow manufacturer instructions and consult a professional for any concerns or questions during the process.
Some Frequently Asked Questions
1. Why Do Smoke Alarms Have 3 Wires?
Smoke alarms have three wires to allow for a connection to a dedicated power source (usually the home’s electrical system) and for interconnection with other smoke alarms in the house.
The third wire, often referred to as the “interconnect wire,” allows multiple smoke alarms to communicate with each other, triggering all alarms in case of an emergency. This feature significantly increases the chances of early detection and quick evacuation in the event of a fire.
Additionally, having a dedicated power source ensures that the smoke alarms are continuously powered, unlike battery-operated alarms that may fail if batteries are not replaced regularly.
Overall, the three wires on a smoke alarm provide crucial functions for its operation and enhance your household’s safety.
2. Are Wired Smoke Detectors AC or DC?
Wired smoke detectors can be either AC (alternating current) or DC (direct current), depending on the type of power source they are connected to. Hardwired smoke alarms that are connected to a home’s electrical system are typically wired for AC, while battery-operated smoke alarms use DC power from batteries. Some models may also have dual power sources, using both AC and DC power for added reliability.
It’s essential to note that regardless of the type of power source, all smoke alarms still use DC power to operate their internal electronic components. However, having a dedicated AC power source allows for continuous operation without worrying about battery life or replacement.
3. Do Wired Smoke Alarms Need Batteries?
Yes, wired smoke alarms still require batteries for backup power in case of a power outage. Even though they are connected to a dedicated AC power source, a battery backup ensures that the smoke alarm will continue functioning and provide early detection in an emergency.
It’s essential to regularly test and replace these batteries according to the manufacturer’s instructions to ensure reliable operation. So, it’s essential to have both AC and DC power sources in wired smoke alarms for optimal performance and safety. Overall, a combination of wired and battery-powered smoke alarms in your home can provide the most comprehensive protection against fire hazards.
In conclusion, installing smoke alarms in your home is crucial for the early detection of fires and ensuring the safety of yourself and your family. By following these tips and avoiding common mistakes, you can confidently and effectively wire your smoke alarms for optimal performance and peace of mind.
4. What is the Difference Between a Smoke Alarm and a Smoke Detector?
Although the terms “smoke alarm” and “smoke detector” are often used interchangeably, there is a slight difference between the two.
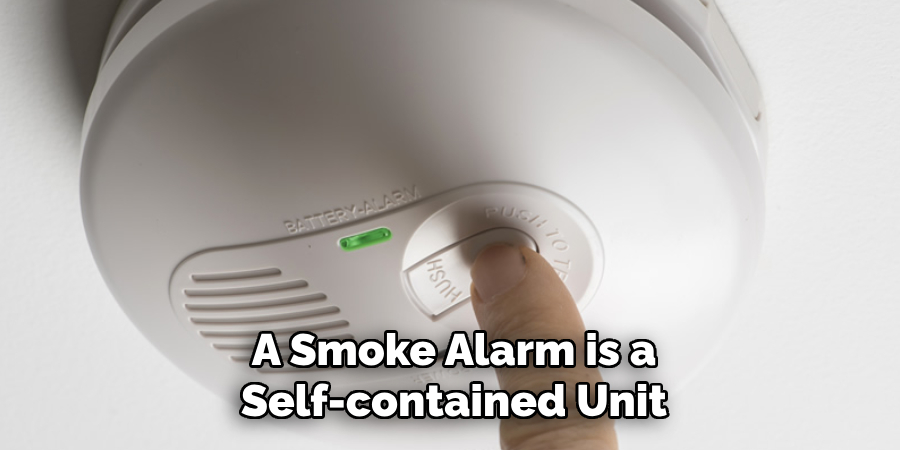
A smoke alarm is a self-contained unit that detects smoke and sounds an audible alert within the unit. These alarms can come in both hardwired and battery-operated options.
On the other hand, a smoke detector is a device that senses smoke and sends a signal to an external alarm system, such as a fire panel or monitoring service. These detectors are usually found in commercial buildings or larger residential properties.
Overall, both smoke alarms and smoke detectors serve the same purpose of detecting and alerting individuals of potential fires. However, they differ in their method of signaling and usage. It’s essential to check your local fire safety regulations and requirements to determine which type of device is necessary for your home or building.
So, it’s crucial to understand the difference between a smoke alarm and a smoke detector and use them accordingly for optimal fire safety.
Conclusion
How to wire a smoke alarm properly is a crucial step in ensuring the safety and security of any home or building.
By paying close attention to details such as choosing the right wire type, avoiding overloading circuits, and making secure wire connections, you can significantly reduce the risk of malfunction and enhance the efficiency of your smoke alarms. It’s essential to follow the manufacturer’s instructions meticulously and consider the assistance of a professional if necessary.
Remember, the primary goal is to provide a dependable early warning system that could save lives in an emergency. Proper installation ensures that your smoke alarms are always ready to perform their critical function when you need them most. Good luck!
About
Safety Fic is a distinguished figure in the world of Diy design, with a decade of expertise creating innovative and sustainable Diy solutions. His professional focus lies in merging traditional craftsmanship with modern manufacturing techniques, fostering designs that are both practical and environmentally conscious. As the author of diy, Safety Fic delves into the art and science of Safety Fic-making, inspiring artisans and industry professionals alike.
Education RMIT University
(Melbourne, Australia) Associate Degree in Design (Safety Fic) Focus on sustainable design, industry-driven projects, and practical craftsmanship. Gained hands-on experience with traditional and digital manufacturing tools, such as CAD and CNC software.
Nottingham Trent University
(United Kingdom) Bachelor’s in diyfastly.com and Product Design (Honors) Specialized in product design with a focus on blending creativity with production techniques. Participated in industry projects, working with companies like John Lewis and Vitsoe to gain real-world insights.
Publications and Impact
In diy, Safety Fic his insights on indoor design processes, materials, and strategies for efficient production. His writing bridges the gap between artisan knowledge and modern industry needs, making it a must-read for both budding designers and seasoned professionals.