

Are you a developer or engineer looking to work with low latency sensors? You’ve come to the right place!
Working with low latency sensors involves understanding their functionality, purpose, and integration into various systems. These sensors are designed to provide speedy and accurate responses to physical inputs, making them ideal for applications where real-time data transmission is critical, such as robotics, gaming, medical devices, and autonomous vehicles. Low latency sensors enable more efficient and precise operations by minimizing the delay between input and response. This introduction will guide you through key concepts, setup procedures, and practical tips for utilizing low latency sensors effectively in your projects.
In this guide on how to work low latency sensor technology into your projects, we will cover all the essentials you need to know.
What Are the Benefits of Low Latency Sensors?
Low latency sensors offer numerous benefits in a wide range of industries. Here are some of the key advantages:
- Real-time Data Processing: Low latency sensors have minimal delay between input and response, allowing for instantaneous data processing. This is crucial in applications where even milliseconds, such as gaming or medical devices, can make a significant difference.
- Increased Precision: Low latency sensors provide more accurate and precise readings by minimizing delay, resulting in more efficient operations and better overall performance.
- Cost-effective: With technological advancements, low latency sensors are becoming more affordable yet still offer high-quality performance. This makes them a cost-effective solution for many industries.
What Will You Need?
To fully utilize the benefits of low latency sensors, you will need a few key components:
- High-speed Processor: A high-speed processor is necessary to process data quickly and efficiently.
- Low Latency Sensor: This may seem obvious, but choosing a sensor specifically designed for low latency applications is essential.
- Fast Internet Connection: For remote monitoring or real-time data transmission, a fast and stable internet connection is crucial.
- Power Source: Depending on the specific application, you must ensure that your sensor has access to a reliable power source. This could be through batteries, external power supply, or energy harvesting.
With these necessary components in place, you can begin setting up and programming your low latency sensor.
8 Easy Steps on How to Work Low Latency Sensor
Step 1: Gather All Required Components
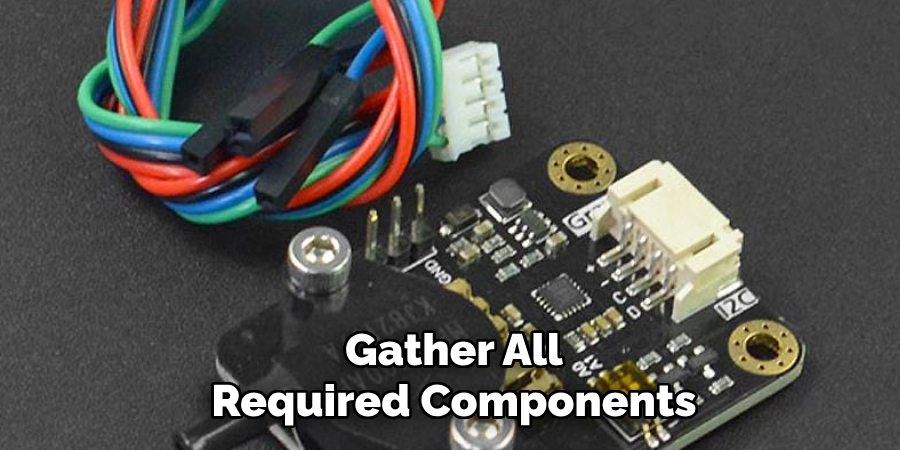
Before you begin, ensure you have all the components for your low latency sensor setup. This includes the sensor itself, a compatible power source, any necessary cables or connectors, and a device for programming and data analysis (such as a laptop or microcontroller). Double-check that all components are in working condition to avoid interruptions during the setup process.
Step 2: Connect the Sensor to the Power Source
Carefully connect your low latency sensor to the compatible power source. Ensure the connection is secure and the voltage matches the sensor’s requirements, as the user manual specifies. Incorrect power connections could damage the sensor, so double-check the polarity and specifications before proceeding. Once connected, confirm that the sensor is powering on correctly, often indicated by a light or an activation signal.
Step 3: Configure the Sensor Settings
Depending on the model, access the sensor’s control interface through a physical panel, software application, or web interface. Follow the instructions in the user manual to adjust the settings, such as sensitivity, range, or data transmission frequency, to suit your specific needs. Be sure to save your configurations before exiting the interface. Proper configuration ensures optimal performance and accurate data collection.
Step 4: Test the Sensor Functionality
After configuring the sensor settings, conduct a thorough test to ensure it operates correctly. Trigger the sensor using controlled conditions replicating its intended environment, and verify that it responds as expected. Check for proper data transmission, accuracy of readings, and any signs of malfunction. If any issues arise, revisit the configuration settings or consult the troubleshooting section of the user manual. Testing is a crucial step to guarantee reliable sensor performance.

Step 5: Final Installation
Once the sensor has passed the testing phase, proceed to the final installation. Secure the sensor in its designated location, firmly mounted and positioned correctly for optimal functionality. Double-check all connections, such as cables or wireless links, to confirm they are stable and properly aligned. Finally, activate the sensor in its operational environment and monitor it briefly to validate that it continues functioning as expected under real-world conditions.
Step 6: Maintenance and Troubleshooting
Regular maintenance is crucial to ensure the sensor operates efficiently and reliably over time. Schedule periodic inspections to clean the sensor, check for wear or damage, and verify that all connections remain secure. If any issues arise, such as inaccurate readings or connectivity problems, consult the sensor’s troubleshooting guide or contact technical support for assistance. Keeping the sensor in optimal condition will help prevent downtime and extend its operational lifespan.
Step 7: Test the Sensor’s Performance
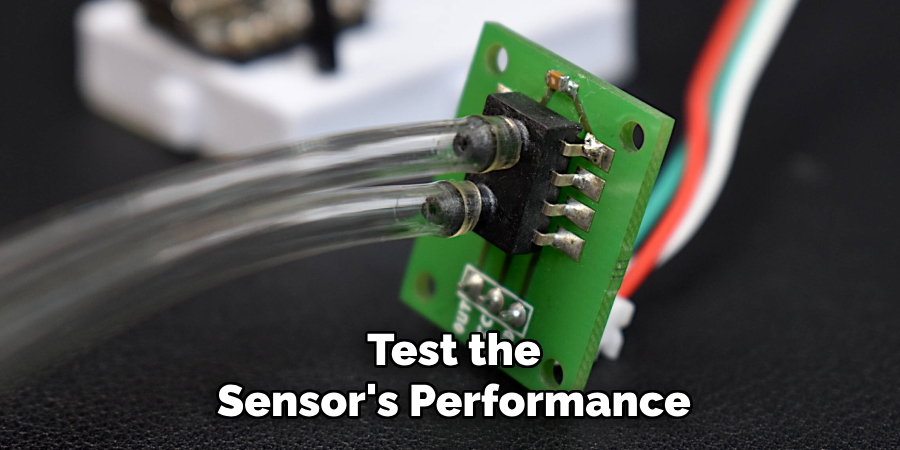
After completing the installation and setup process, it is essential to test the sensor’s performance to ensure it is functioning correctly. Begin by verifying that the sensor is accurately recording data under normal operating conditions. If necessary, compare the sensor’s output to expected values or use a reference device for calibration. Monitor the performance over a short period to detect any anomalies or issues. If the sensor passes all tests, it is ready for regular use. Document the testing results for future reference and quality assurance.
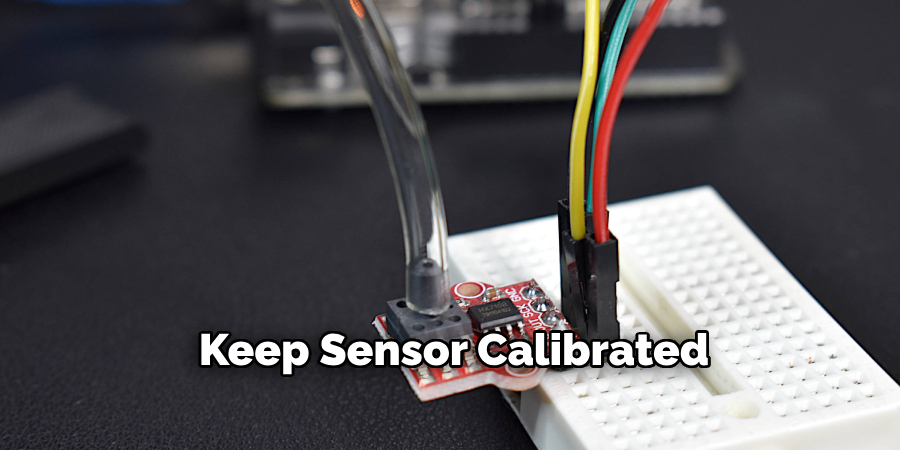
Step 8: Keep Sensor Calibrated
It is essential to calibrate the sensor to maintain accuracy and reliability. Calibration involves adjusting the sensor’s output to match a known standard or reference value.
There are two types of calibration: factory and field calibration. The manufacturer does factory calibration before the sensor is shipped, while field calibration is performed on-site using specialized equipment.
Regularly scheduled calibration depends on the type of sensor, its application, and environmental conditions. It is recommended to follow the manufacturer’s guidelines for specific requirements.
By following proper calibration procedures, the accuracy and reliability of sensor data can be maintained.
5 Things You Should Avoid
- Neglecting Regular Maintenance: Failing to perform routine checks and maintenance can lead to degraded performance and inaccurate readings, potentially impacting the overall operation of the system.
- Ignoring Environmental Factors: Low latency sensors can be sensitive to environmental influences such as extreme temperatures, humidity, or electromagnetic interference. Not accounting for these factors can compromise the sensor’s reliability.
- Overloading the Sensor with Data: Sending excessive data or requests to the sensor can cause delays and reduce its low-latency performance. Ensure the data flow is optimized and within the sensor’s capacity.
- Using Improper Calibration Methods: Incorrect or skipping calibration can result in measurement errors. Always use appropriate and manufacturer-recommended calibration techniques.
- Failing to Update Firmware or Software: Outdated firmware or software can limit the sensor’s capabilities and introduce vulnerabilities. Regular updates are crucial to maintaining optimal functionality and security.
How Do You Calculate Latency?
Latency is the measure of time for a sensor to detect and respond to a change in its environment. It can be calculated using the following formula:
Latency = (Time taken for sensor to respond) – (Time of actual event)
For example, if a sensor takes 10 milliseconds to detect and respond to an event that occurred at time zero, the latency would be calculated as follows:
Latency = (10 milliseconds) – (0 milliseconds) = 10 milliseconds
It is important to note that latency can vary depending on factors such as the type of sensor, environmental conditions, and processing speed. Therefore, this formula provides a general understanding of how latency is calculated but may not be applicable in all cases.
What Causes Latency?
Latency can be caused by a variety of factors, including:
- Physical Distance: The farther the data travels, the longer it will take for a response to be received.
- Network Congestion: If there is heavy traffic on the network, it can slow down the transmission of data.
- Processing Time: The time it takes for data to be processed and analyzed by the receiving device or system.
- Sensor Type: Different types of sensors have different response times due to their design and technology. For example, a satellite sensor will have a longer response time than an infrared sensor.
- Data Size: Larger data sets take longer to transmit and process than smaller ones.
These factors can affect the efficiency and speed of data transmission, causing delays and disruptions in communication. Therefore, network administrators must monitor these factors and make necessary adjustments to optimize data transmission and reduce processing time.
Conclusion
To achieve optimal performance with low latency sensors, minimizing factors contributing to delays in data transmission and processing is crucial.
Begin by selecting sensors with high sensitivity and faster response times suitable for the application. Maintain a robust network infrastructure with sufficient bandwidth to handle data transmission efficiently. Implement data compression techniques where appropriate to reduce the size of transmitted data. Additionally, ensure regular maintenance and calibration of sensors to sustain accuracy and reliability. Network administrators and system developers can significantly reduce latency and enhance overall system efficiency by focusing on these practices.
Hopefully, the article on how to work low latency sensor networks has given readers a good understanding of the importance and techniques for reducing latency in sensor networks.