Lorex security cameras have become a trusted solution for home and business surveillance, offering a range of features designed to meet different security needs. Among their many capabilities, zooming functionality stands out as an essential tool for closely monitoring critical details such as faces, license plates, or specific areas of interest.
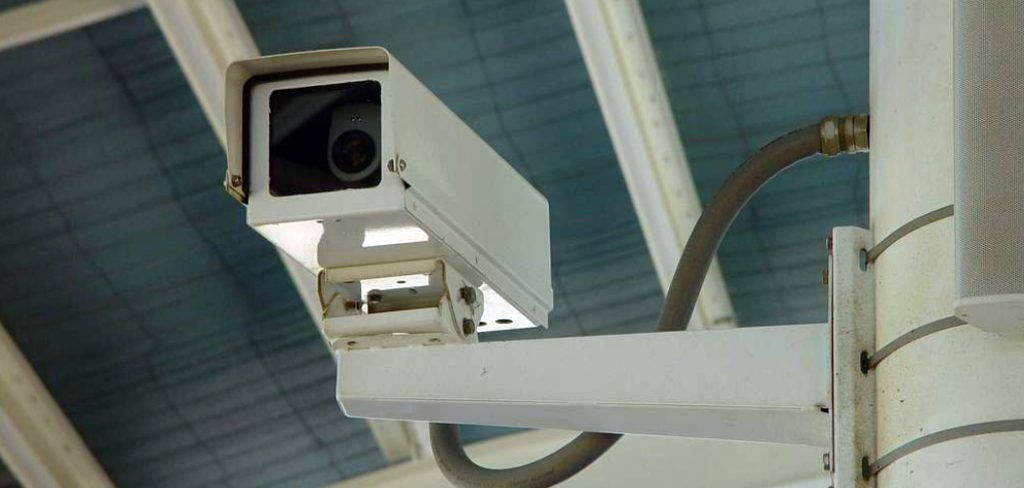
Whether using optical zoom for high-definition clarity or digital zoom for quick adjustments, the ability to zoom enhances the overall effectiveness of your surveillance system. This guide will walk you through the process of how to zoom in on Lorex security cameras using a variety of methods, including the Lorex app, DVR/NVR systems, and web browsers. By understanding how to maximize zoom capabilities, users can ensure better coverage, improved detail, and optimal safety for their surroundings.
Understanding Zoom Features on Lorex Cameras
Lorex cameras provide versatile zoom capabilities that cater to various surveillance needs, enhancing the functionality and effectiveness of your security system. Understanding the types of Zoom and their applications will help you maximize this feature.
Types of Zoom
- Optical Zoom
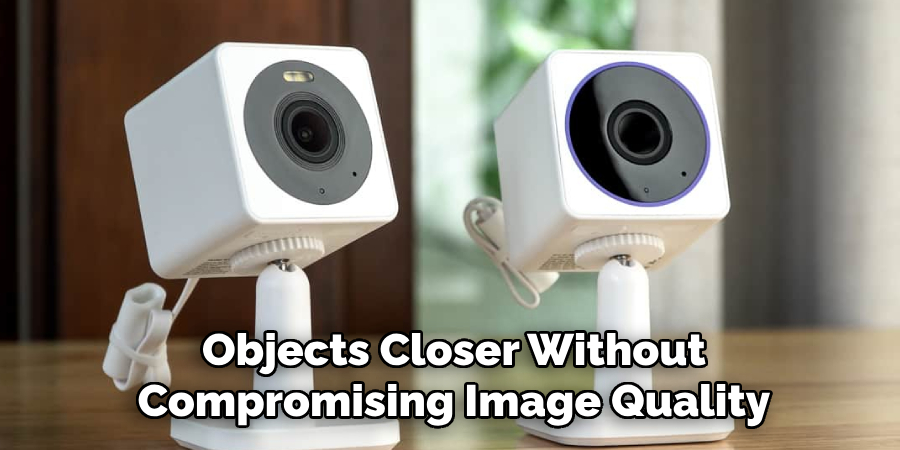
Optical zoom adjusts the physical lens of the camera to bring distant objects closer without compromising image quality. This type of zoom is particularly useful for ensuring high-definition clarity in live feeds or recordings, making it ideal for identifying faces, license plates, or other critical details.
- Digital Zoom
Digital zoom enlarges a portion of the image through software rather than lens manipulation. While this method allows for quick adjustments, it may result in reduced image clarity due to pixelation, depending on the level of zoom applied.
Camera Models with Zoom Capability
Lorex offers several camera models equipped with zoom functionality. The Lorex PTZ (Pan-Tilt-Zoom) cameras are popular, providing robust control over zoom, pan, and tilt for comprehensive surveillance coverage. Many other Lorex camera models, including certain bullet and dome cameras, also support zooming capabilities, allowing users to choose the right fit for their security needs.
Why Zoom is Useful
Zoom capabilities are invaluable for focusing on areas that require closer inspection, whether in live feeds or recorded footage. By enhancing detail visibility, zooming helps users detect important elements, increasing the accuracy and reliability of their surveillance system.
How to Zoom in On Lorex Security Cameras: Zooming In Using the Lorex Home App
Setting Up the App
To begin using the zoom features on your Lorex cameras, download and install the Lorex Home app from your device’s app store. Once installed, log in using your Lorex account credentials. Ensure your cameras are connected to your account for seamless functionality. Follow the in-app instructions to complete the setup process and verify that your cameras are online and ready for use.
Zoom Controls in the App
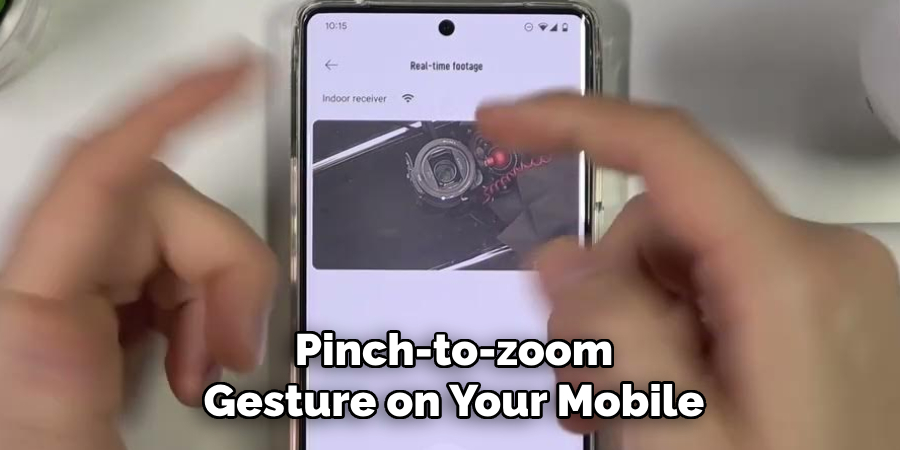
Accessing the zoom feature is simple within the Lorex Home app. Open the live view of the camera you wish to adjust. Use the pinch-to-zoom gesture on your mobile device’s screen to enlarge your desired area for digital zoom. For PTZ camera models, utilize the on-screen directional and zoom buttons to adjust the view, allowing precise control over pan, tilt, and zoom functionality.
Tips for Better Results
For the clearest images, prioritize using optical zoom when available, as it maintains image quality by physically adjusting the lens instead of enlarging pixels. After zooming, take a moment to fine-tune the camera’s focus to ensure all details are sharp and visible. Regularly clean your camera lens to avoid dust or smudges that could affect clarity when zooming in.
How to Zoom in On Lorex Security Cameras: Zooming In Using a DVR/NVR System
Accessing the DVR/NVR Interface
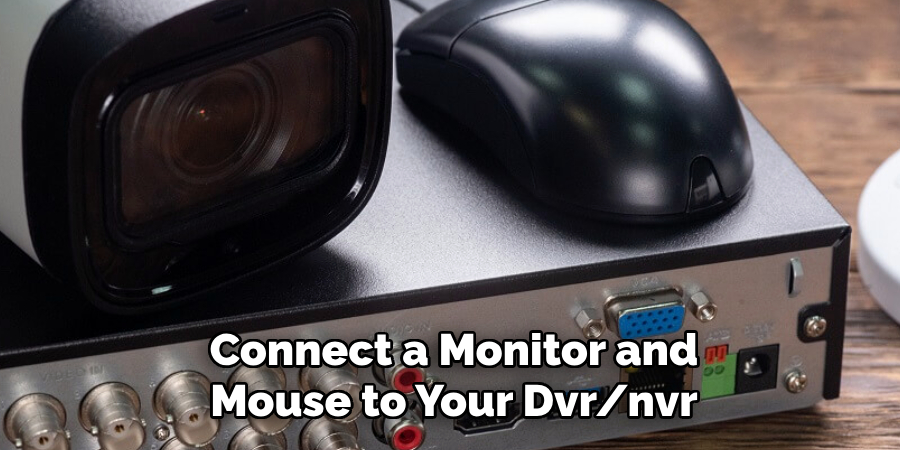
To zoom in on camera feeds using a DVR/NVR system, connect a monitor and mouse to your DVR/NVR. These peripherals are essential for navigating the system’s interface. Once connected, log into the DVR/NVR using your credentials, such as a username and password. This ensures secure access to the system and its features. After logging in, you’ll find the main interface, which displays live camera feeds and system controls.
Zoom Controls on Live View
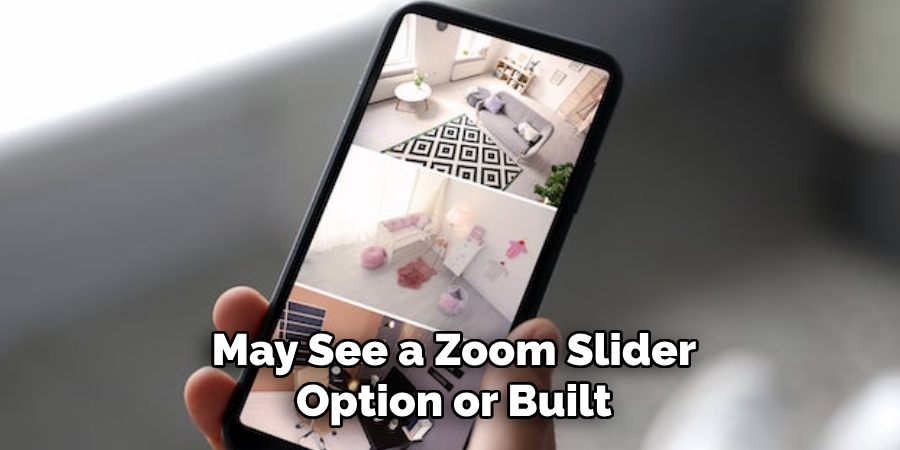
Select the specific camera channel you want to adjust from the interface to zoom in on a live camera feed. Depending on your DVR/NVR system, you may see a zoom slider option or built-in PTZ (pan, tilt, zoom) controls for PTZ-enabled cameras. Use the zoom slider to enlarge the desired area of the live feed or adjust the PTZ controls to fine-tune the zoom level and angle of the camera. This functionality lets you focus on specific areas of interest in real time for better monitoring.
Playback Zoom
The DVR/NVR system also offers playback zoom options if you need to review recorded footage. Navigate to the playback section of the menu and select the footage you wish to review. Once the footage plays, use the zoom controls to magnify specific areas within the recorded clip. This feature proves particularly useful for investigating incidents or reviewing critical details from past recordings, offering clarity where needed.
Using a Remote or PTZ Joystick
For users with PTZ-enabled cameras, zoom functionality can also be accessed through external controls. Most DVR/NVR systems come with a dedicated remote control or allow the use of a PTZ joystick for greater precision. The remote or joystick simplifies zoom adjustments, especially when real-time responsiveness is required. With these tools, you can manipulate the camera’s zoom, pan, and tilt functions to achieve the optimal viewing angle without relying entirely on the DVR/NVR interface.
By familiarizing yourself with these features, you can maximize the potential of your DVR/NVR system’s zoom capabilities for both live and recorded footage, ensuring no critical detail is overlooked.
Zooming In Using a Web Browser
Accessing the Camera Feed
To zoom in using a web browser, first access the Lorex web portal or the IP address assigned to your camera system. Launch your preferred web browser, enter the portal, and log in with your account credentials. Ensure a stable internet connection for seamless access to the camera feed.
Using Browser-Based Controls
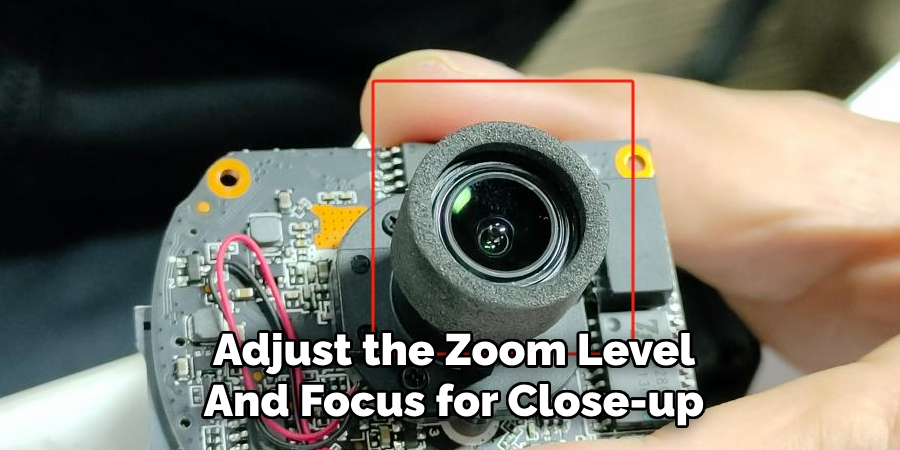
Once logged in, navigate to the live view of your camera feed. The browser interface typically provides zoom controls that allow you to fine-tune the view. Use these controls to adjust the zoom level and focus for close-up or wide-angle monitoring. Many browser interfaces offer intuitive features that make zooming both simple and precise.
Advantages of Browser Access
Utilizing a web browser for monitoring offers several benefits, including viewing the feed on a larger screen, which enhances visibility and detail. This method is particularly useful for tasks that require careful scrutiny or extended periods of monitoring. Additionally, browser-based access eliminates the need for additional physical hardware, providing a convenient and efficient way to maximize your camera system’s zoom functionality.
Troubleshooting Zoom Issues
Encountering issues with your camera’s zoom functionality can be frustrating, but most problems are easily resolved with a few simple steps. Below are some common problems and their solutions to help restore proper zoom operations.
Common Problems
- Zoom not working due to outdated firmware or app versions – If your Lorex camera isn’t responding to zoom commands, outdated software or firmware is a frequent cause.
- Camera not responding to PTZ (Pan-Tilt-Zoom) commands – This can stem from connectivity issues or settings mismatched with your camera’s capabilities.
Solutions
- Update Firmware – Use the Lorex app or web interface to check for and install the latest firmware updates for your camera. Keeping your system up-to-date ensures compatibility and resolves known issues.
- Restart the Camera – A simple restart can often fix temporary glitches. Power off the camera, wait a few moments and turn it back on.
- Verify Connections – Ensure all cables and network connections are secure. If using Wi-Fi, check your network signal strength.
- Check Model Compatibility – Confirm that your camera model supports zoom functionality, as not all cameras include these features.
By implementing these solutions, you can efficiently address zoom issues and maintain optimal performance for your Lorex camera system.
Best Practices for Using Zoom
Optimal Usage Scenarios
Using the zoom function effectively can enhance your surveillance experience by allowing you to focus on specific points of interest. For instance, zooming in on entryways, driveways, or areas where valuables are kept helps ensure these critical spaces are monitored thoroughly. This feature is particularly useful in identifying details such as faces or license plates, providing added security in key locations.
Maintaining Camera Quality
To preserve image clarity, avoid overusing digital zoom. Excessive digital zoom can lead to pixelation and reduce the effectiveness of the footage. Instead, rely on optical zoom if your camera supports it, as it maintains better resolution. Another critical factor in maintaining image quality is regularly cleaning your camera lens. Dirt, dust, or smudges on the lens can obstruct your view and decrease visual sharpness, even when zooming.

Adjusting Camera Placement
Strategic placement of your camera is essential for optimal zoom efficiency. Position your camera at a height and angle that matches the intended field of view and ensures any zoomed-in areas remain within the camera’s range. Avoid positioning the camera too far from the target areas, as even advanced zoom capabilities may struggle to provide clear details from long distances.
Best Practices for Using Zoom
Optimal Usage Scenarios
Zoom functionality is particularly effective when monitoring specific points of interest. For instance, you can use Zoom to closely observe entryways, windows, or valuables, ensuring no suspicious activity goes unnoticed. It is also helpful for monitoring wide areas where capturing smaller details, such as license plates or identifying individuals, is crucial.
Maintaining Camera Quality
Avoid over-relying on digital zoom to get the best results from your zoom feature. While digital zoom can appear convenient, excessive use often leads to pixelation and reduces the clarity of your footage. Instead, opt for optical zoom whenever possible, as it preserves image quality at variable distances. Additionally, make it a habit to clean your camera lens regularly. Dust, smudges, or water stains on the lens can block or distort the view, significantly diminishing its performance.
Adjusting Camera Placement
Proper camera placement is a critical factor in maximizing zoom capabilities. Ensure that the camera is positioned at an appropriate height and angle to focus clearly on the primary areas of concern. Avoid positioning the camera too far from high-priority zones, as even advanced zoom features may struggle to produce clear and useful footage at extreme distances. Strategic placement enhances both general and zoomed-in monitoring.
Alternative Tools for Zooming
External Software
For an alternative approach to zooming, consider using third-party video editing software. These tools allow users to zoom into recorded footage during post-production, enabling closer examination of specific details without affecting the original recording quality. Software like this often includes additional features, such as frame-by-frame playback, further enhancing your ability to analyze critical moments captured by your camera.
Manual Adjustments
If your system uses non-PTZ (Pan-Tilt-Zoom) cameras, physical manual adjustments can serve as an alternative to zoom capabilities. You can achieve a closer view of the desired area by repositioning or re-angling the camera. While this approach may lack the convenience of remote operation, it is a cost-effective option for setups where budget constraints prevent technological upgrades.
Advanced Systems
For the ultimate zooming experience, investing in PTZ cameras provides greater control and versatility. PTZ cameras allow users to remotely pan, tilt, and zoom in real-time, making them ideal for dynamic environments or when close monitoring of multiple areas is required. These systems often have advanced features, such as automated tracking and presets, ensuring seamless and efficient surveillance operations.
Conclusion
Understanding how to zoom in on Lorex security cameras is essential for maximizing their functionality. Whether using the Lorex app, DVR/NVR system, or web browser, each method provides unique advantages for achieving the desired view. Optical zoom offers unparalleled clarity with precise detail, while digital zoom allows for quick image enlargements when needed. To maintain optimal performance, ensure regular system maintenance and firmware updates. Additionally, selecting proper camera placement and configuring the settings effectively can enhance the overall efficiency of the zoom features. With these strategies, you can make the most of your Lorex security system’s capabilities.

