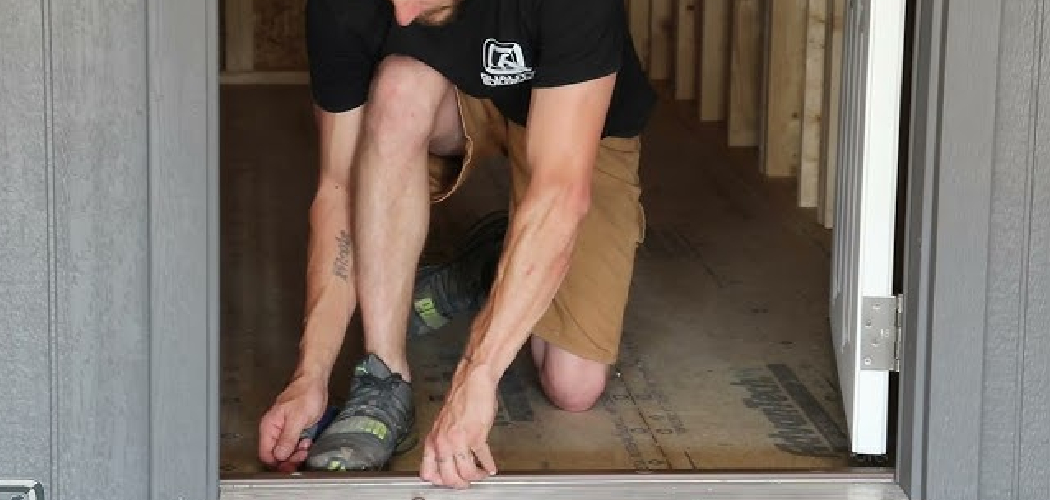
Are you looking for ways to seal your door threshold to concrete? Look no further! Whether you are trying to keep the rain out or prevent drafts, sealing your door threshold is an important step in protecting your home from the elements. This guide will discuss the steps involved in properly sealing a door threshold to concrete.
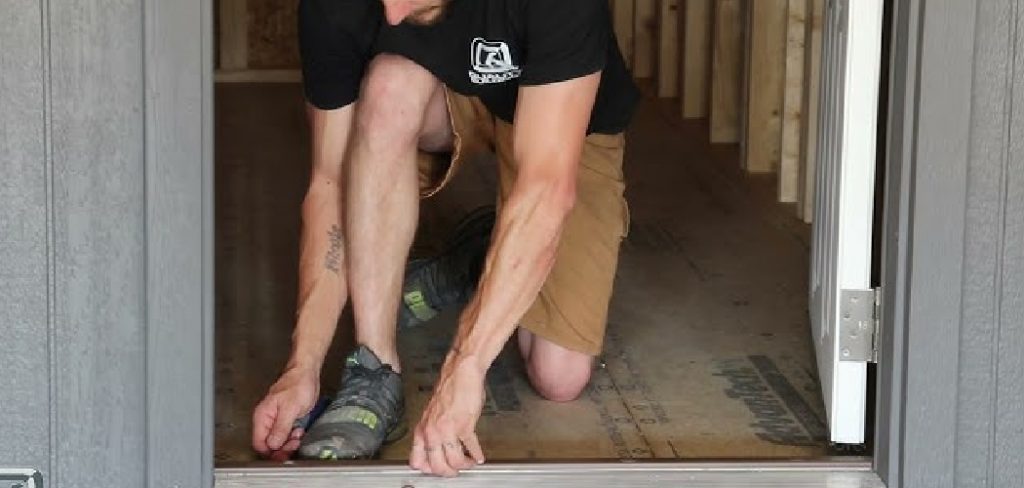
How to seal door threshold to concrete is an essential task for maintaining the integrity and energy efficiency of your home. A properly sealed threshold prevents drafts, moisture, and pests from entering, thereby enhancing comfort and reducing energy costs. Whether you’re installing a new door or repairing an existing threshold, following the correct procedures will ensure a tight, long-lasting seal.
This guide will walk you through the steps necessary to achieve a secure, durable seal between your door threshold and the concrete surface.
What Will You Need?
Before you begin the sealing process, gathering all the necessary materials and tools is important. Here are some items you will need:
- Door threshold sealant (such as silicone caulk or polyurethane sealant)
- Caulking gun
- Putty knife or scraper
- Wire brush or sandpaper
- Clean cloth or rag
- Painter’s tape (optional)
- Protective gear (gloves, safety glasses)
It’s always a good idea to read and follow the instructions provided by the manufacturer of your chosen sealant for specific application techniques and any additional tools required.
8 Easy Steps on How to Seal Door Threshold to Concrete
Step 1. Prepare the Area
Before you start sealing, it’s crucial to ensure that the area around the door threshold is clean and ready for application. Follow these sub-steps to properly prepare the area:
- Remove Any Existing Sealant: Begin by inspecting the threshold and removing any old or damaged sealant using a putty knife or scraper. Be careful not to damage the threshold or the concrete surface in the process.
- Clean the Surface: Use a wire brush or sandpaper to clean the concrete and the underside of the threshold. This will help remove dirt, debris, and loose particles that could interfere with the new sealant’s adhesion.
- Wipe Down with a Cloth: After brushing or sanding, wipe down the area with a clean cloth or rag to remove any remaining dust or debris. Ensuring a clean surface will help create a stronger bond between the sealant and the surface.
- Dry the Area: Make sure the area is arid before proceeding. Any moisture present can prevent the sealant from adhering properly. If necessary, use a dry cloth to remove any residual moisture.
- Apply Painter’s Tape (Optional): If you want clean, straight lines at the edges of the sealant application, apply painter’s tape alongside the edges of the threshold. This will give you a guide and help to keep the sealant in a neat, confined area.
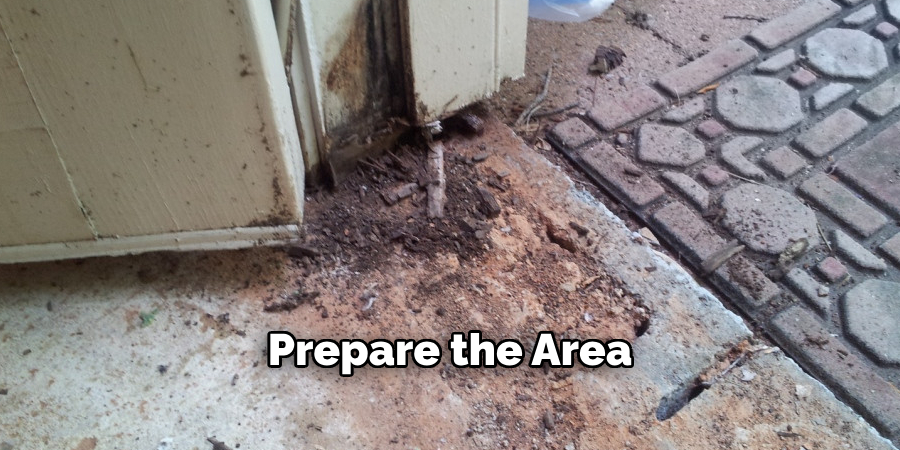
By thoroughly preparing the area, you ensure that the new sealant will adhere properly and create a durable, long-lasting seal. This preparation step is fundamental in preventing future issues like moisture infiltration or drafts, ultimately contributing to your home’s energy efficiency and comfort.
Step 2. Apply the Sealant
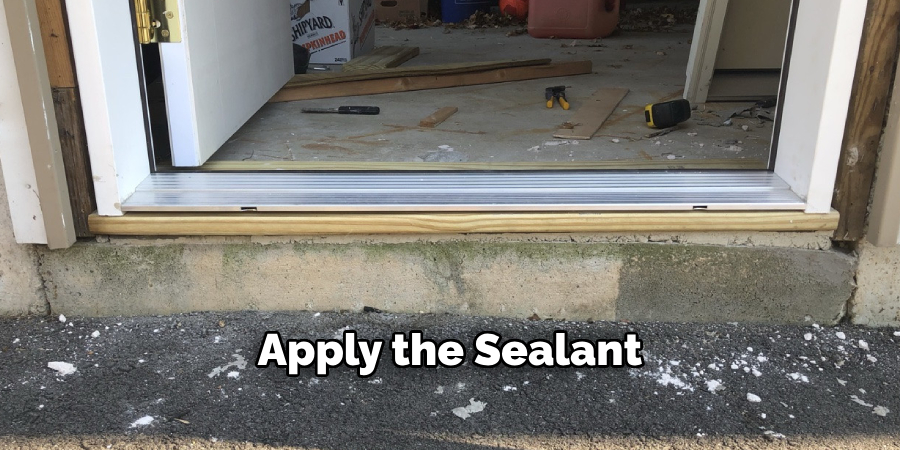
Once the area is prepared, it’s time to apply the sealant. Follow these sub-steps to ensure a smooth and even application:
- Load the Caulking Gun: Insert the sealant tube into the caulking gun, and cut the nozzle at a 45-degree angle to create an opening slightly larger than the gap you need to fill. Puncture the inner seal of the tube if necessary.
- Apply the Sealant: Slowly and steadily apply a continuous sealant bead along the threshold length where it meets the concrete. Ensure the bead is uniform and adequately fills the gap.
- Smooth the Sealant: Use a putty knife, scraper, or your finger (wearing gloves) to smooth out the sealant bead, ensuring it adheres well to both the threshold and the concrete surface. This will also help to push the sealant deeper into the gap, creating a stronger seal.
- Remove Excess Sealant: Wipe away any excess sealant with a clean cloth or rag before it begins to set. This will give your application a neat and professional finish.
- Remove Painter’s Tape (If Used): If you applied painter’s tape in the preparation step, carefully remove it while the sealant is still wet. This will leave you with clean, straight edges.
Applying the sealant correctly is crucial for creating an effective barrier against drafts, moisture, and pests, thereby enhancing the longevity and effectiveness of your door threshold seal.
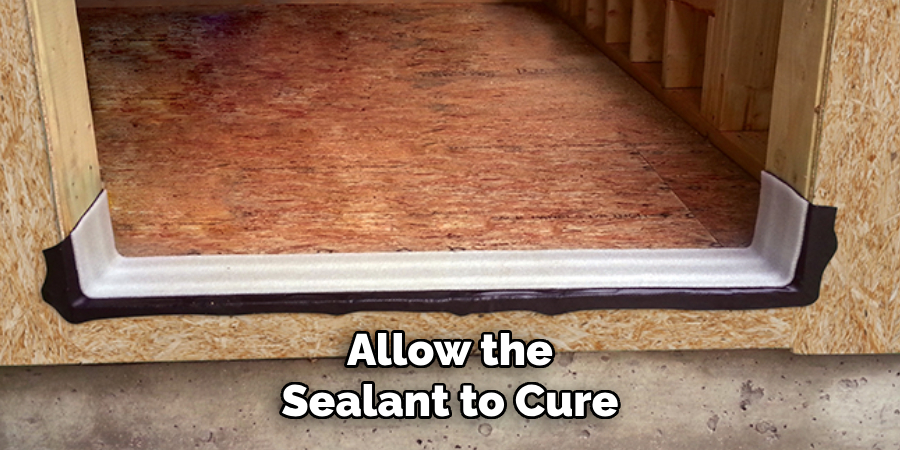
Step 3. Allow the Sealant to Cure
After applying and smoothing the sealant, it’s essential to allow it to cure properly for it to be effective. Follow these sub-steps to ensure the sealant cures correctly:
- Refer to Manufacturer’s Instructions: Check the sealant manufacturer’s instructions for specific curing times. Different sealants may require varying amounts of time to cure fully.
- Avoid Disturbance: Ensure that the threshold area remains undisturbed during the curing process. To allow it to set without interference, avoid walking over the sealant or placing any objects on top of it.
- Check for Full Cure: After the recommended curing time has elapsed, inspect the sealant to ensure it has fully set and hardened. The sealant should no longer be tacky to the touch and should feel solid.
- Finish Up: If any areas need touch-ups, apply additional sealant as needed and allow it to cure again before use.
Proper curing is the final step in ensuring your door threshold seal is strong and durable. Following these curing instructions will help maintain the seal’s integrity and effectiveness, providing you with long-lasting protection against moisture, drafts, and pests.
Step 4. Inspect the Seal
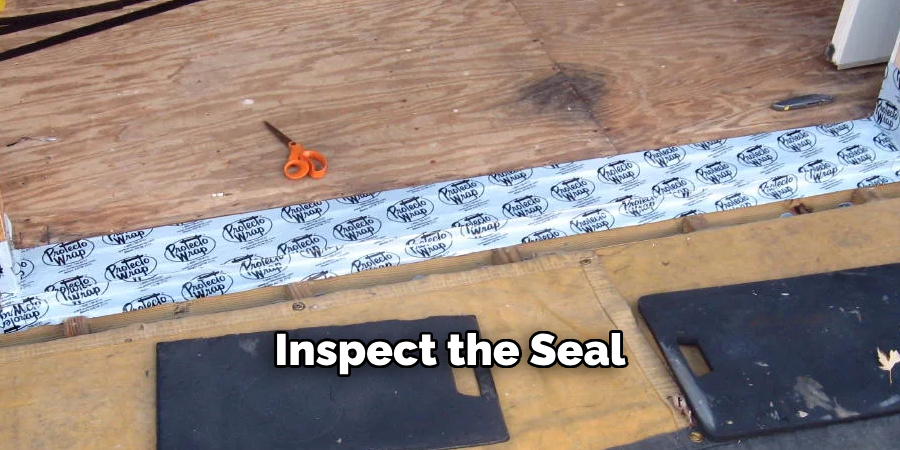
After the sealant has fully cured, it is important to inspect the seal to ensure that it has been applied effectively and there are no gaps or weak spots. Follow these sub-steps to thoroughly inspect the seal:
- Visual Inspection: Start by visually inspecting the seal along the entire threshold length. Look for any visible gaps, cracks, or areas where the sealant may have shrunk or pulled away from the surfaces.
- Test for Adhesion: Gently press on the sealant with your finger (wearing gloves) or a tool to ensure that it is firmly adhered to both the door threshold and the concrete surface. The sealant should feel solid and not peel away.
- Check for Consistency: Ensure that the sealant bead is consistent in width and thickness along the entire threshold length. Inconsistent areas may compromise the seal’s integrity and require further attention.
- Identify Touch-Up Areas: If you find any areas that need touch-ups or reapplication, mark them for easy identification. These areas will need additional sealant to reinforce the seal.
Thoroughly inspecting the seal will help identify potential issues early on and allow for prompt corrective action. This step ensures that the seal effectively provides a strong and reliable barrier against moisture, drafts, and pests, ultimately contributing to your home’s overall protection and efficiency.
Step 5. Clean Up
Proper cleanup after sealing is essential to ensure your tools and work area are ready for future tasks. Follow these sub-steps to clean up effectively:
- Clean the Tools: Immediately clean all tools, such as the caulking gun, putty knife, or scraper, used during the sealant application. Remove excess sealant with a cloth or paper towel and then wash the tools with soap and water if you’re using latex-based sealant or with a suitable solvent for solvent-based sealants.
- Dispose of Waste Properly: Dispose of any used sealant tubes, rags, and painter’s tape according to your local waste disposal guidelines. Be mindful not to leave any hazardous materials unattended.
- Store Extra Sealant: If any sealant remains, cap the tube properly and store it in a cool, dry place for future use. Note the shelf life and any storage instructions provided by the manufacturer.
- Clean the Work Area: Finally, ensure that the work area is free of any debris or residual sealant. Sweep or vacuum the area if necessary to leave it clean and safe.
By completing the clean-up process, you prepare your tools and workspace for future projects and ensure a tidy and organized environment. Proper clean-up also prolongs the lifespan of your tools and prevents accidental damage or mess.
Step 6. Maintenance and Upkeep
Regular maintenance and upkeep are crucial to ensure the longevity and effectiveness of your door threshold seal. Follow these sub-steps to maintain the seal:
- Routine Inspections: Periodically inspect the threshold seal for signs of wear and tear, such as cracks, gaps, or peeling. It’s advisable to perform inspections at least once every season or after extreme weather conditions.
- Clean the Seal: Keep the sealant area clean by removing any dirt, debris, or grime. Use a mild detergent and water to gently clean the threshold without damaging the sealant.
- Reapply Sealant if Needed: If you notice any areas where the sealant has degraded or is no longer effective, reapply a fresh bead of sealant following the same steps outlined earlier. Ensure that the new sealant adheres well and cures properly.
- Monitor Effectiveness: Inspect any drafts, moisture intrusion, or pest activity around the door threshold. These could be indicators that the seal is failing and needs immediate attention.
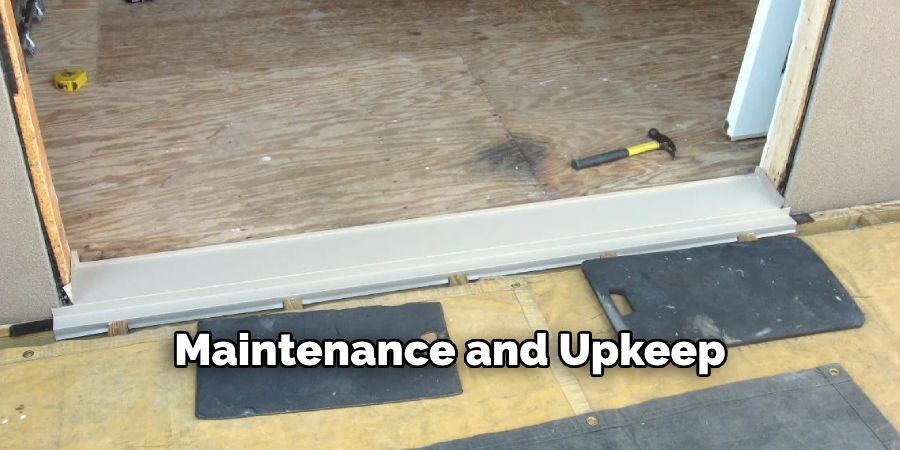
By consistently maintaining the sealant on your door threshold, you can prevent potential issues and ensure that your home remains protected against the elements and pests. Regular upkeep will extend the life of the seal and contribute to your home’s overall energy efficiency and comfort.
Step 7. Final Testing
After you have completed the sealing and allowed it to cure, it is essential to perform a final test to ensure the effectiveness of your work. Follow these sub-steps to conduct a thorough final test:
- Water Test: Simulate a rainy condition by using a hose to spray water around the door threshold. Observe the inside area for any signs of moisture penetration or leaks. If any water seeps through, re-evaluate the seal and apply additional sealant as necessary.
- Draft Test: On a windy day or using a handheld fan, test for drafts around the threshold area. Light a piece of incense or a small candle and pass it around the seal. If the smoke or flame flickers, there may be a gap where air is entering, indicating the need for touch-ups or a more thorough seal.
- Pest Inspection: Check the area for any signs of pest activity such as small droppings or gnaw marks. Ensuring there are no gaps in the seal will help keep pests from entering your home.
- Temperature Check: During extreme weather conditions, monitor the indoor temperature near the sealed threshold. Significant temperature fluctuations may point to inadequate sealing, requiring further inspection and action.
Conducting these final tests will confirm that your door threshold seal is performing as expected, providing a robust barrier against the elements. This step ensures your hard work translates into effective, long-lasting protection for your home.
Step 8. Enjoy the Benefits
Once you have confirmed the effectiveness of your door threshold seal through thorough testing, it’s time to enjoy the many benefits it brings to your home. These benefits include:
- Improved Energy Efficiency: A well-sealed door threshold helps to maintain consistent indoor temperatures, reducing the need for heating and cooling. This can lead to lower energy bills and a smaller carbon footprint.
- Enhanced Comfort: You can enjoy a more comfortable living environment year-round by preventing drafts and temperature fluctuations.
- Moisture Protection: Effective sealing prevents water intrusion during heavy rain, protecting your flooring and interior from potential water damage.
- Pest Control: A good seal keeps insects and rodents from entering your home, helping to maintain a clean and pest-free environment.
- Noise Reduction: A properly sealed threshold can also act as a barrier to external noise, contributing to a quieter and more peaceful indoor setting.
By following all the steps and ensuring a meticulous approach to sealing your door threshold, you can reap these rewards, enhancing the quality and efficiency of your home. Regular maintenance and periodic inspections will help sustain these advantages over time.
Conclusion
How to seal door threshold to concrete is a comprehensive process that, when executed correctly, enhances the functionality and comfort of your home.
Each step is critical in ensuring a durable and effective seal from preparation to final testing. By meticulously following the outlined steps—cleaning the area, applying the sealant with precision, conducting routine maintenance, and performing rigorous final tests—you set the stage for a successful installation. The benefits of a well-sealed door threshold are substantial, ranging from improved energy efficiency and comfort to moisture protection, pest control, and noise reduction. Remember, the longevity of the seal relies on your commitment to regular upkeep and periodic inspections.
With this guide, you can confidently undertake the task and be secure in the knowledge that you are enhancing the integrity and performance of your home.

